Top 10 Free Vegetable Gardening Hacks
Top 10 Free Vegetable Gardening Hacks
Oct 29, 2025

Garden centers sell a lot of helpful gadgets, but many useful tools and tricks are free if you use a little ingenuity and things you already have around the house. Below are 10 of my favorite free gardening hacks that save money, reduce waste, and make gardening easier. Try a few this season and see how many everyday items you can put to work in the garden.
1. Seed starting with toilet paper and paper towel tubes
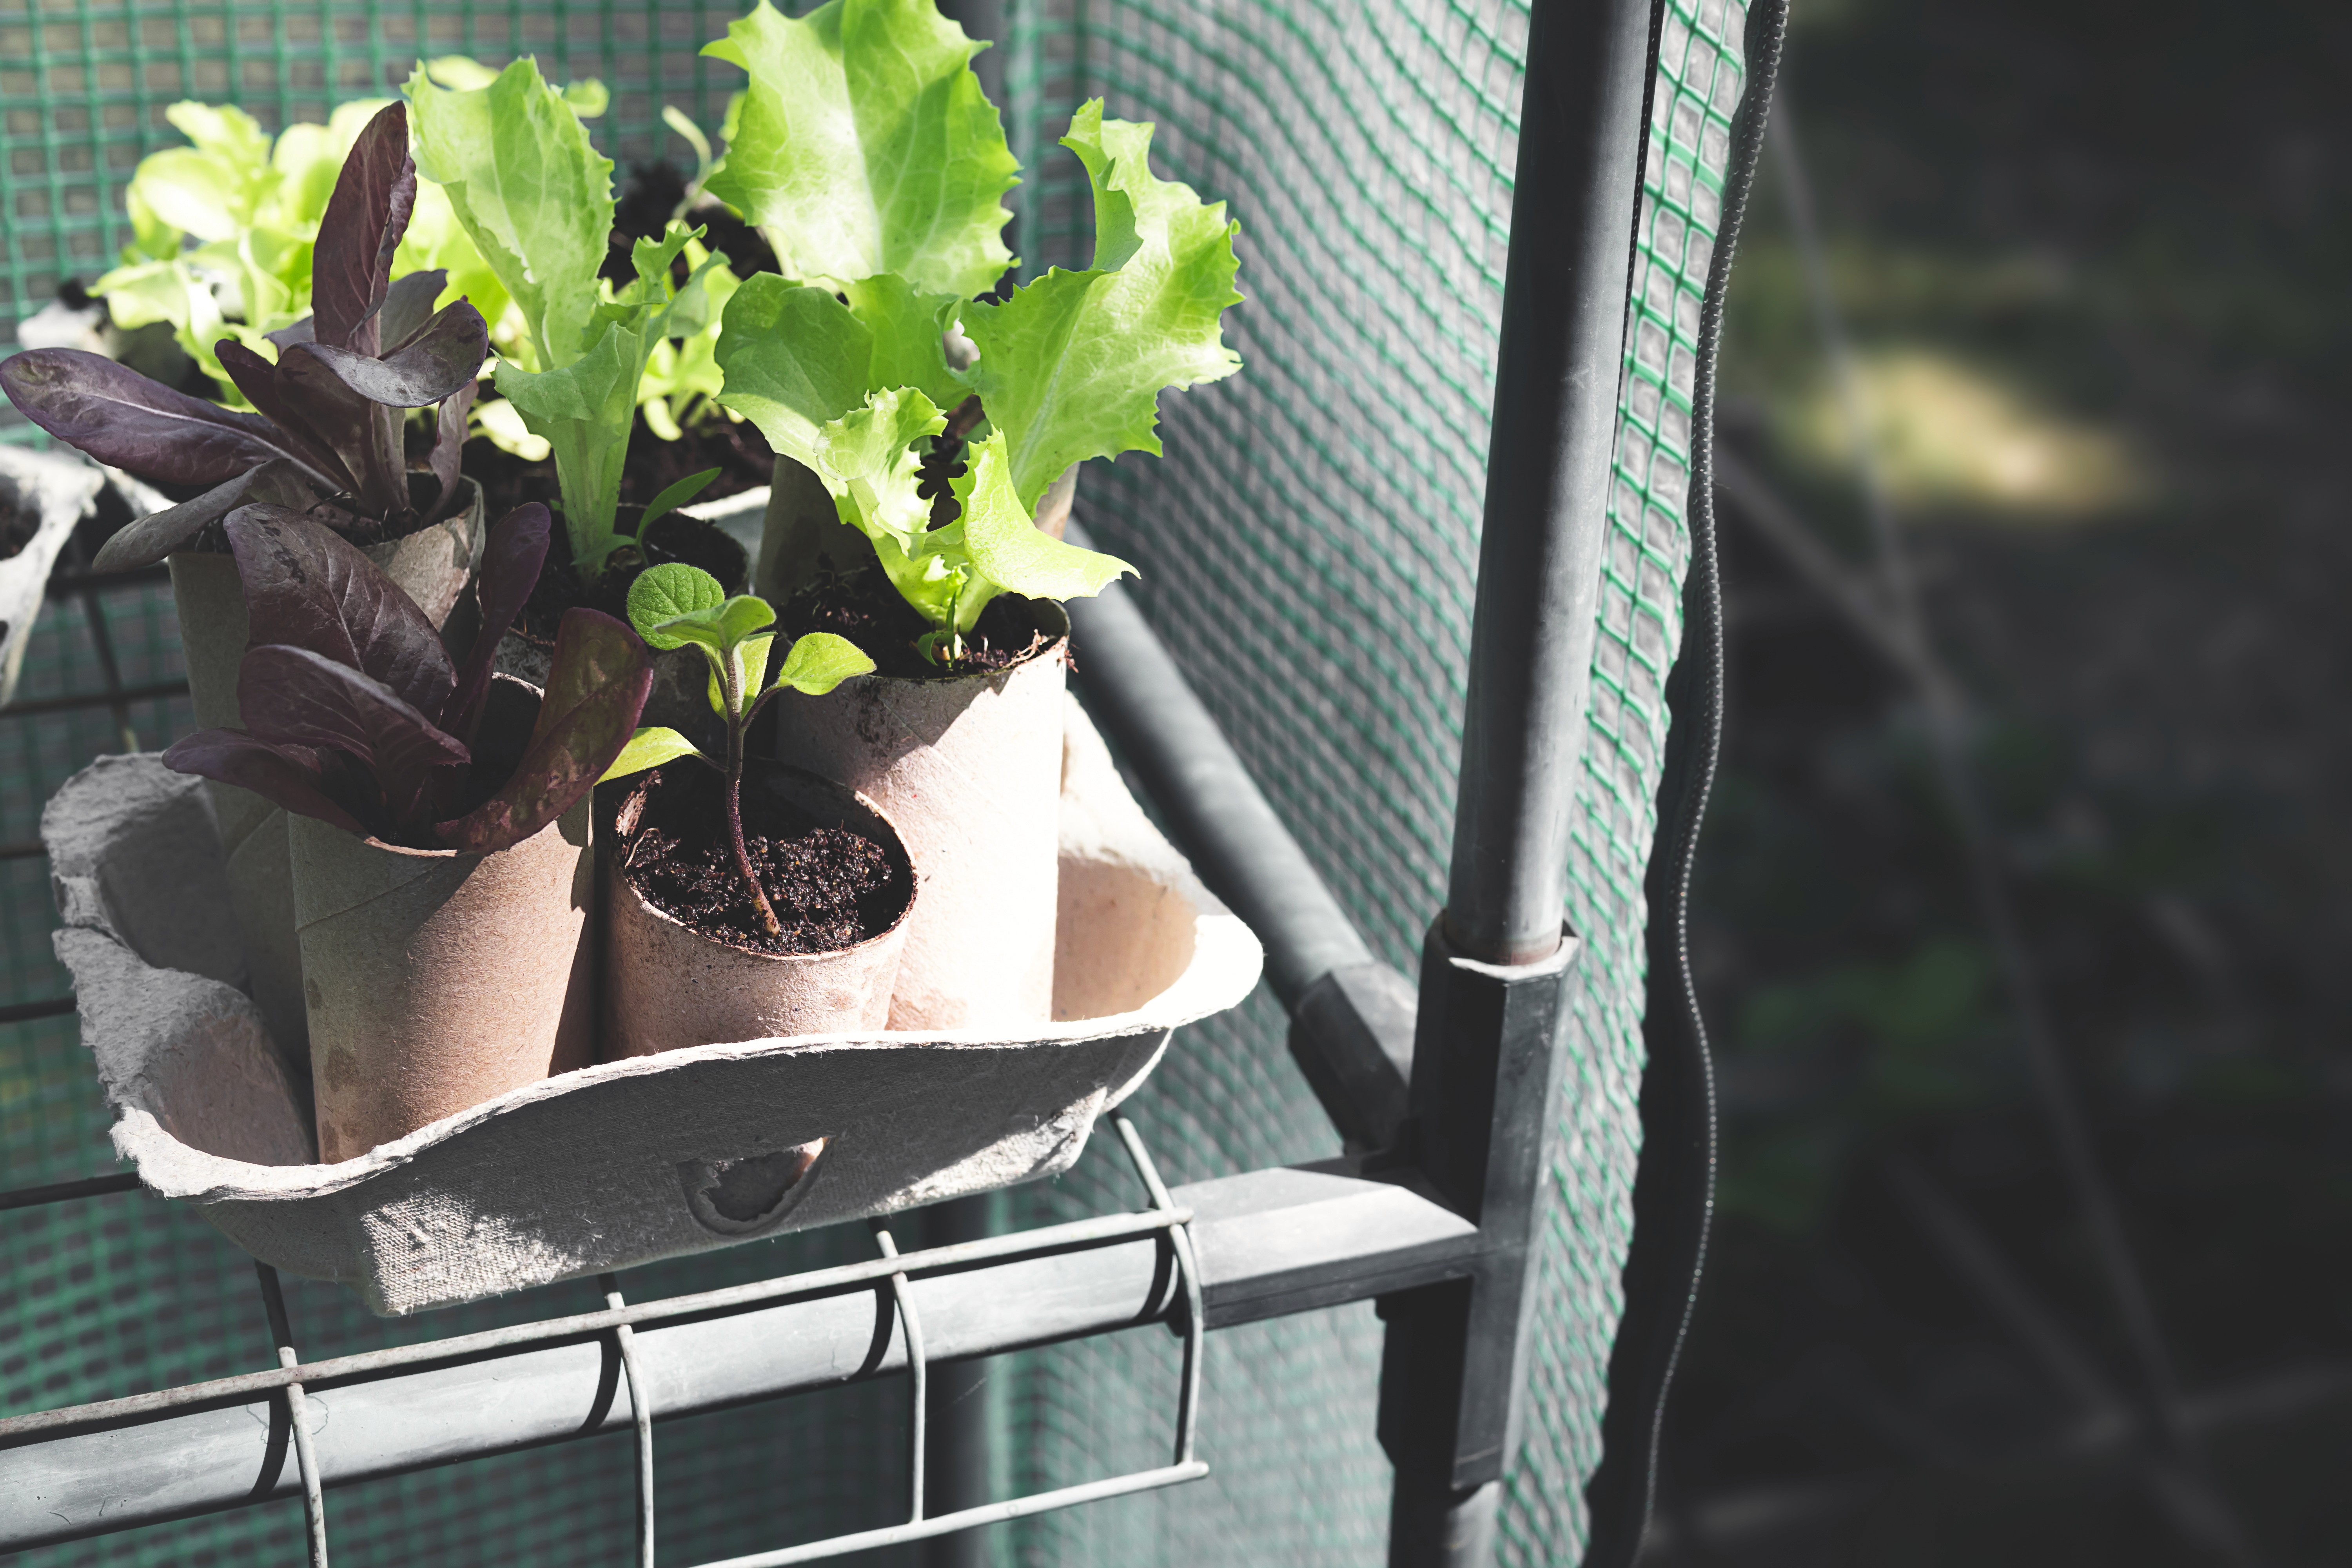
Instead of buying seed trays or peat pots, use empty toilet paper or paper towel tubes to start seeds. Place tubes side by side inside a container that already has drainage holes. Fill with seed starting mix. The mix that falls between the tubes will help hold them upright.
This method works especially well for peas, beans, and other legumes, and even sweet pea flowers because they prefer deeper root systems.
When the seedlings are ready, plant the whole tube in the ground. The cardboard breaks down quickly and reduces transplant shock.
2. DIY slug trap using plywood
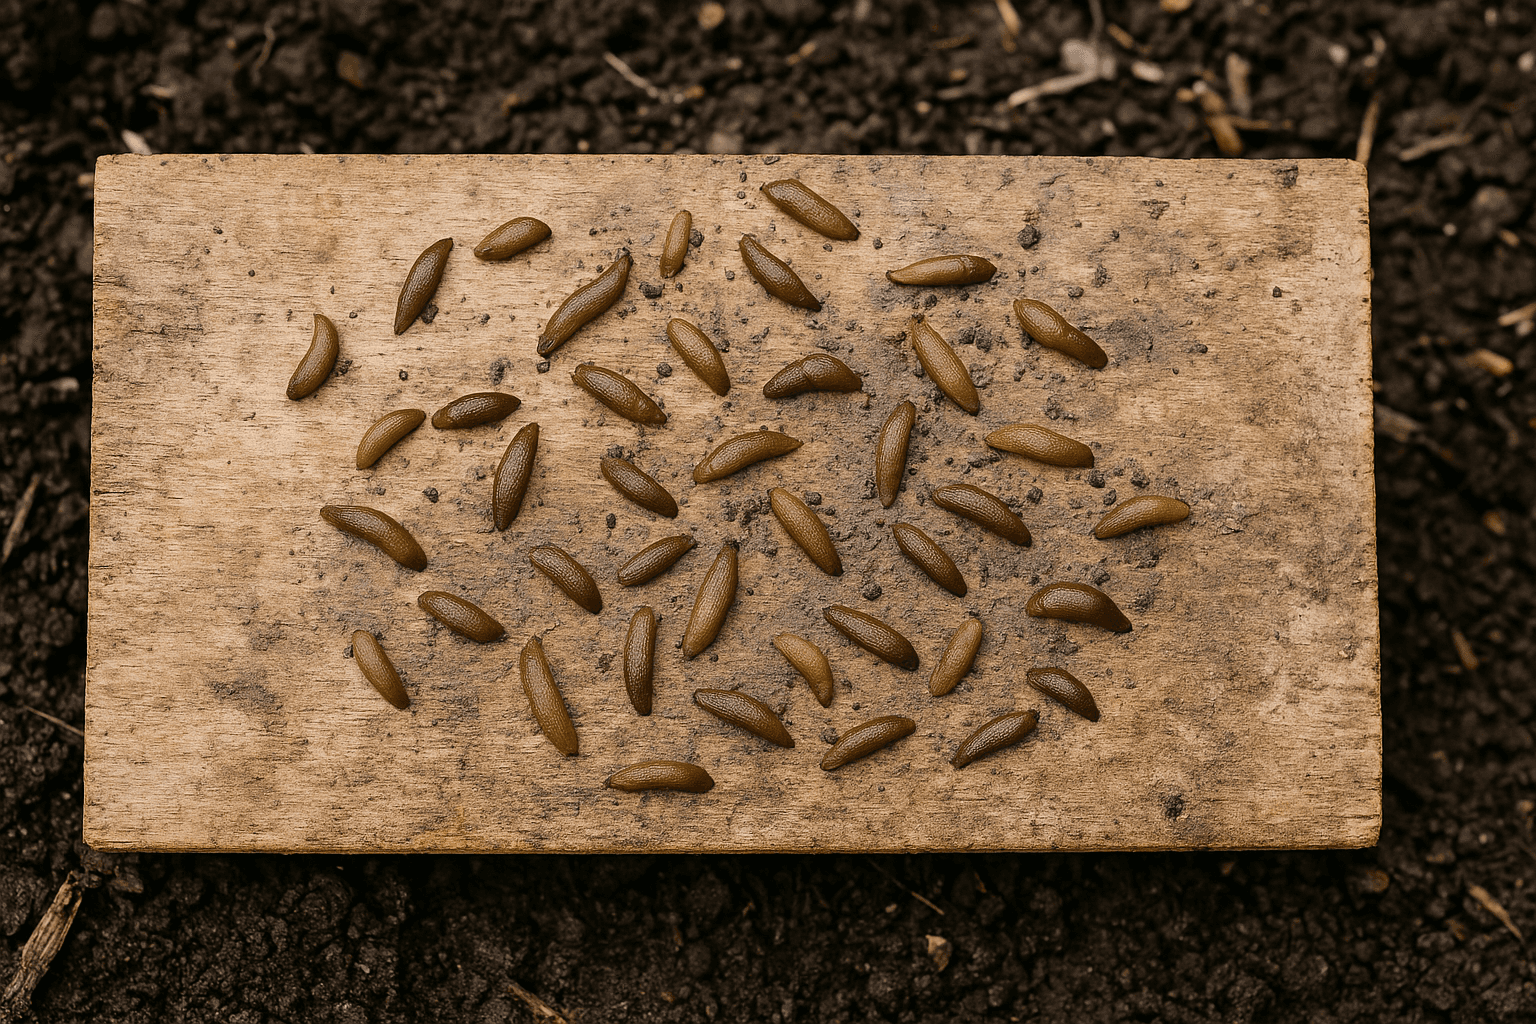
Slugs can decimate young lettuce and other tender seedlings. One simple trap is to lay a piece of old plywood on wet ground overnight. Slugs gather underneath the board where it is cool and dark, and you can collect and dispose of them in the morning.
Wet the ground first to make the area more attractive to slugs.
Dispose of the slugs however you prefer.
3. Plastic bottle hacks: mini greenhouses and deep watering
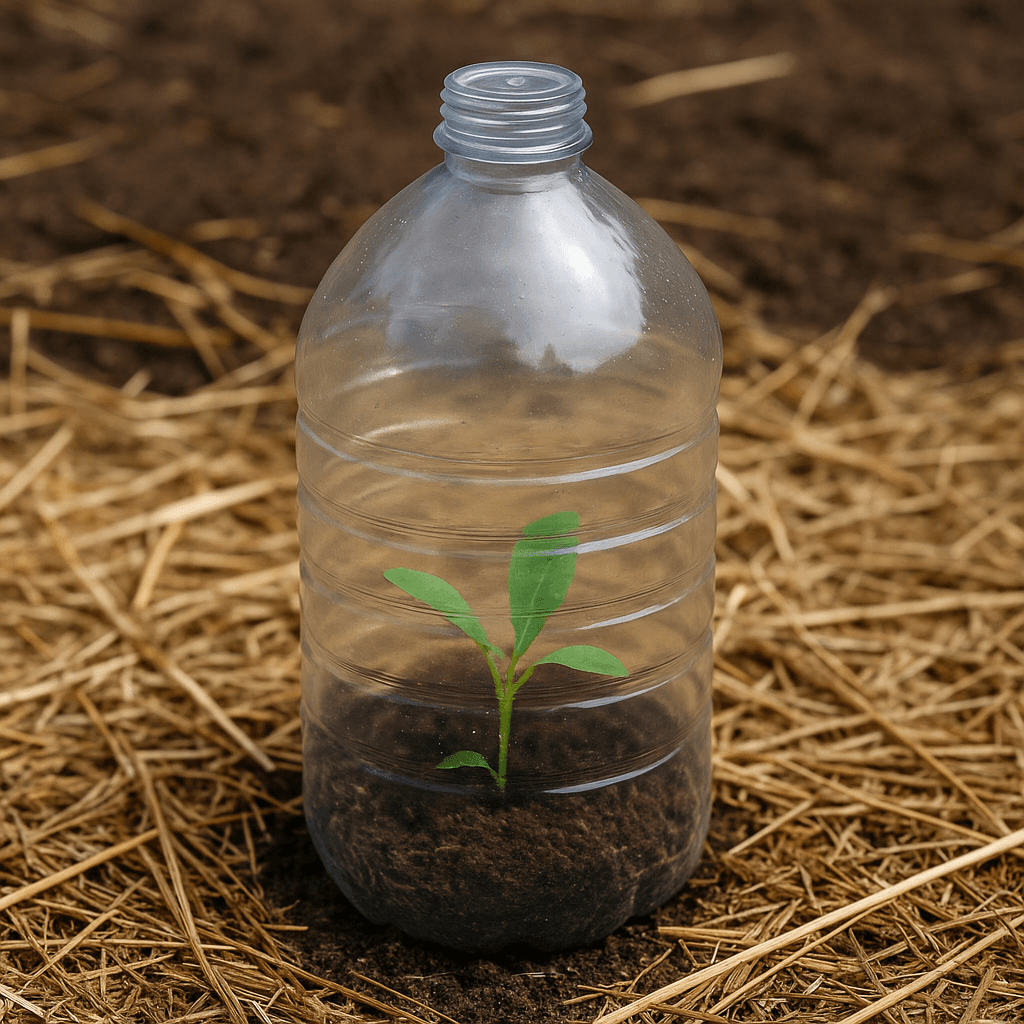
Plastic bottles are incredibly useful in the garden. A 2 liter bottle can become a mini greenhouse or a deep-watering device for thirsty plants.
To make a cloche for seedlings, cut the bottom off a bottle and place it over the plant. Push a bamboo stake through the bottle and into the soil to keep it from blowing away.
For deep watering, poke several holes in the cap, cut the bottom off, and bury the bottle next to deep-rooted plants like tomatoes. Fill the bottle with water and let it slowly seep out, providing consistent moisture to the root zone.
To prevent soil from clogging the holes, you can put the bottom back on the bottle after burying or cover it as needed.
4. Make plant tags from recycled plastic and blinds
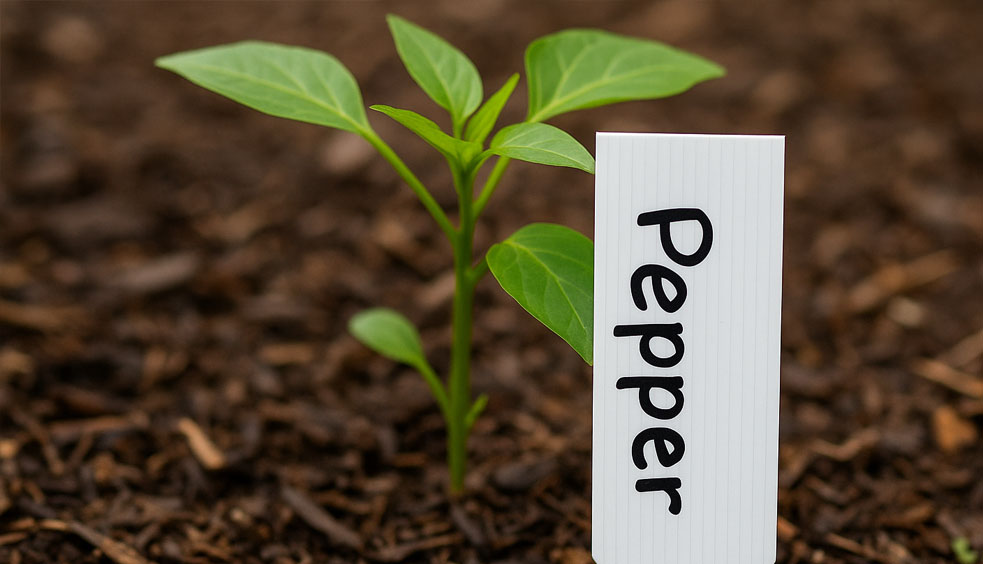
Plant tags can be costly and get lost every season. Reuse semi-rigid plastic containers such as yogurt tubs or sour cream containers by cutting them into strips for labels. Old window blinds also make durable, reusable tags. I once made hundreds of metal-style markers that lasted for years.
Write on plastic tags with a permanent marker or pencil for long-term labeling.
Cut blinds or plastic containers to whatever size you need for easy, weatherproof markers.
5. Evenly space tiny seeds with a shaker bottle and sand
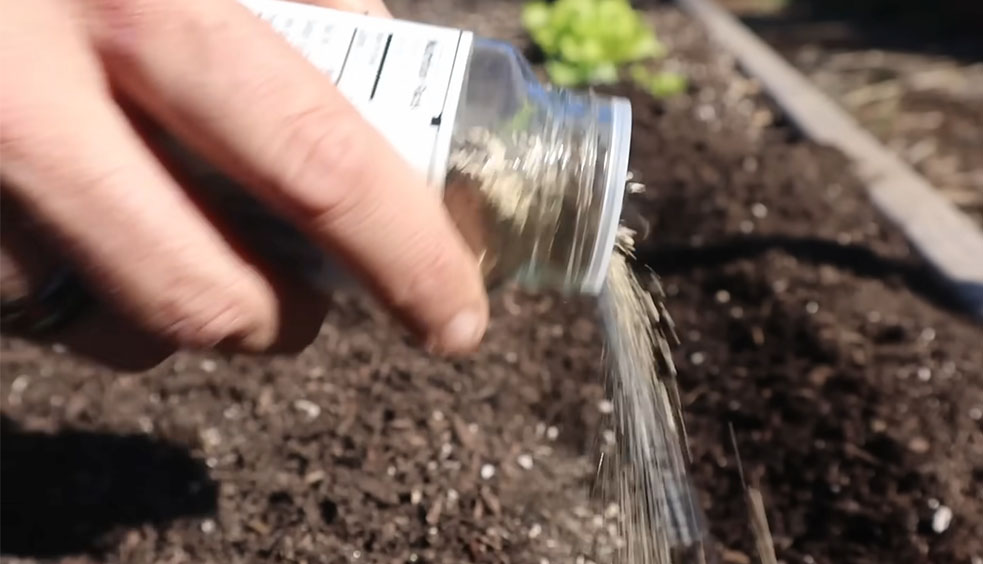
Sowing very small seeds like lettuce or carrot can be frustrating because you often have to thin them later. Repurpose a spice shaker bottle with holes in the top by filling it with a couple tablespoons of sand and the seeds from one packet. Shake to mix and then sprinkle over your prepared row or tray.
The sand acts as a carrier to distribute seeds more evenly and reduce overcrowding.
This works well for small garden beds and seed trays alike.
6. Use grocery store dried beans and peas as free seeds
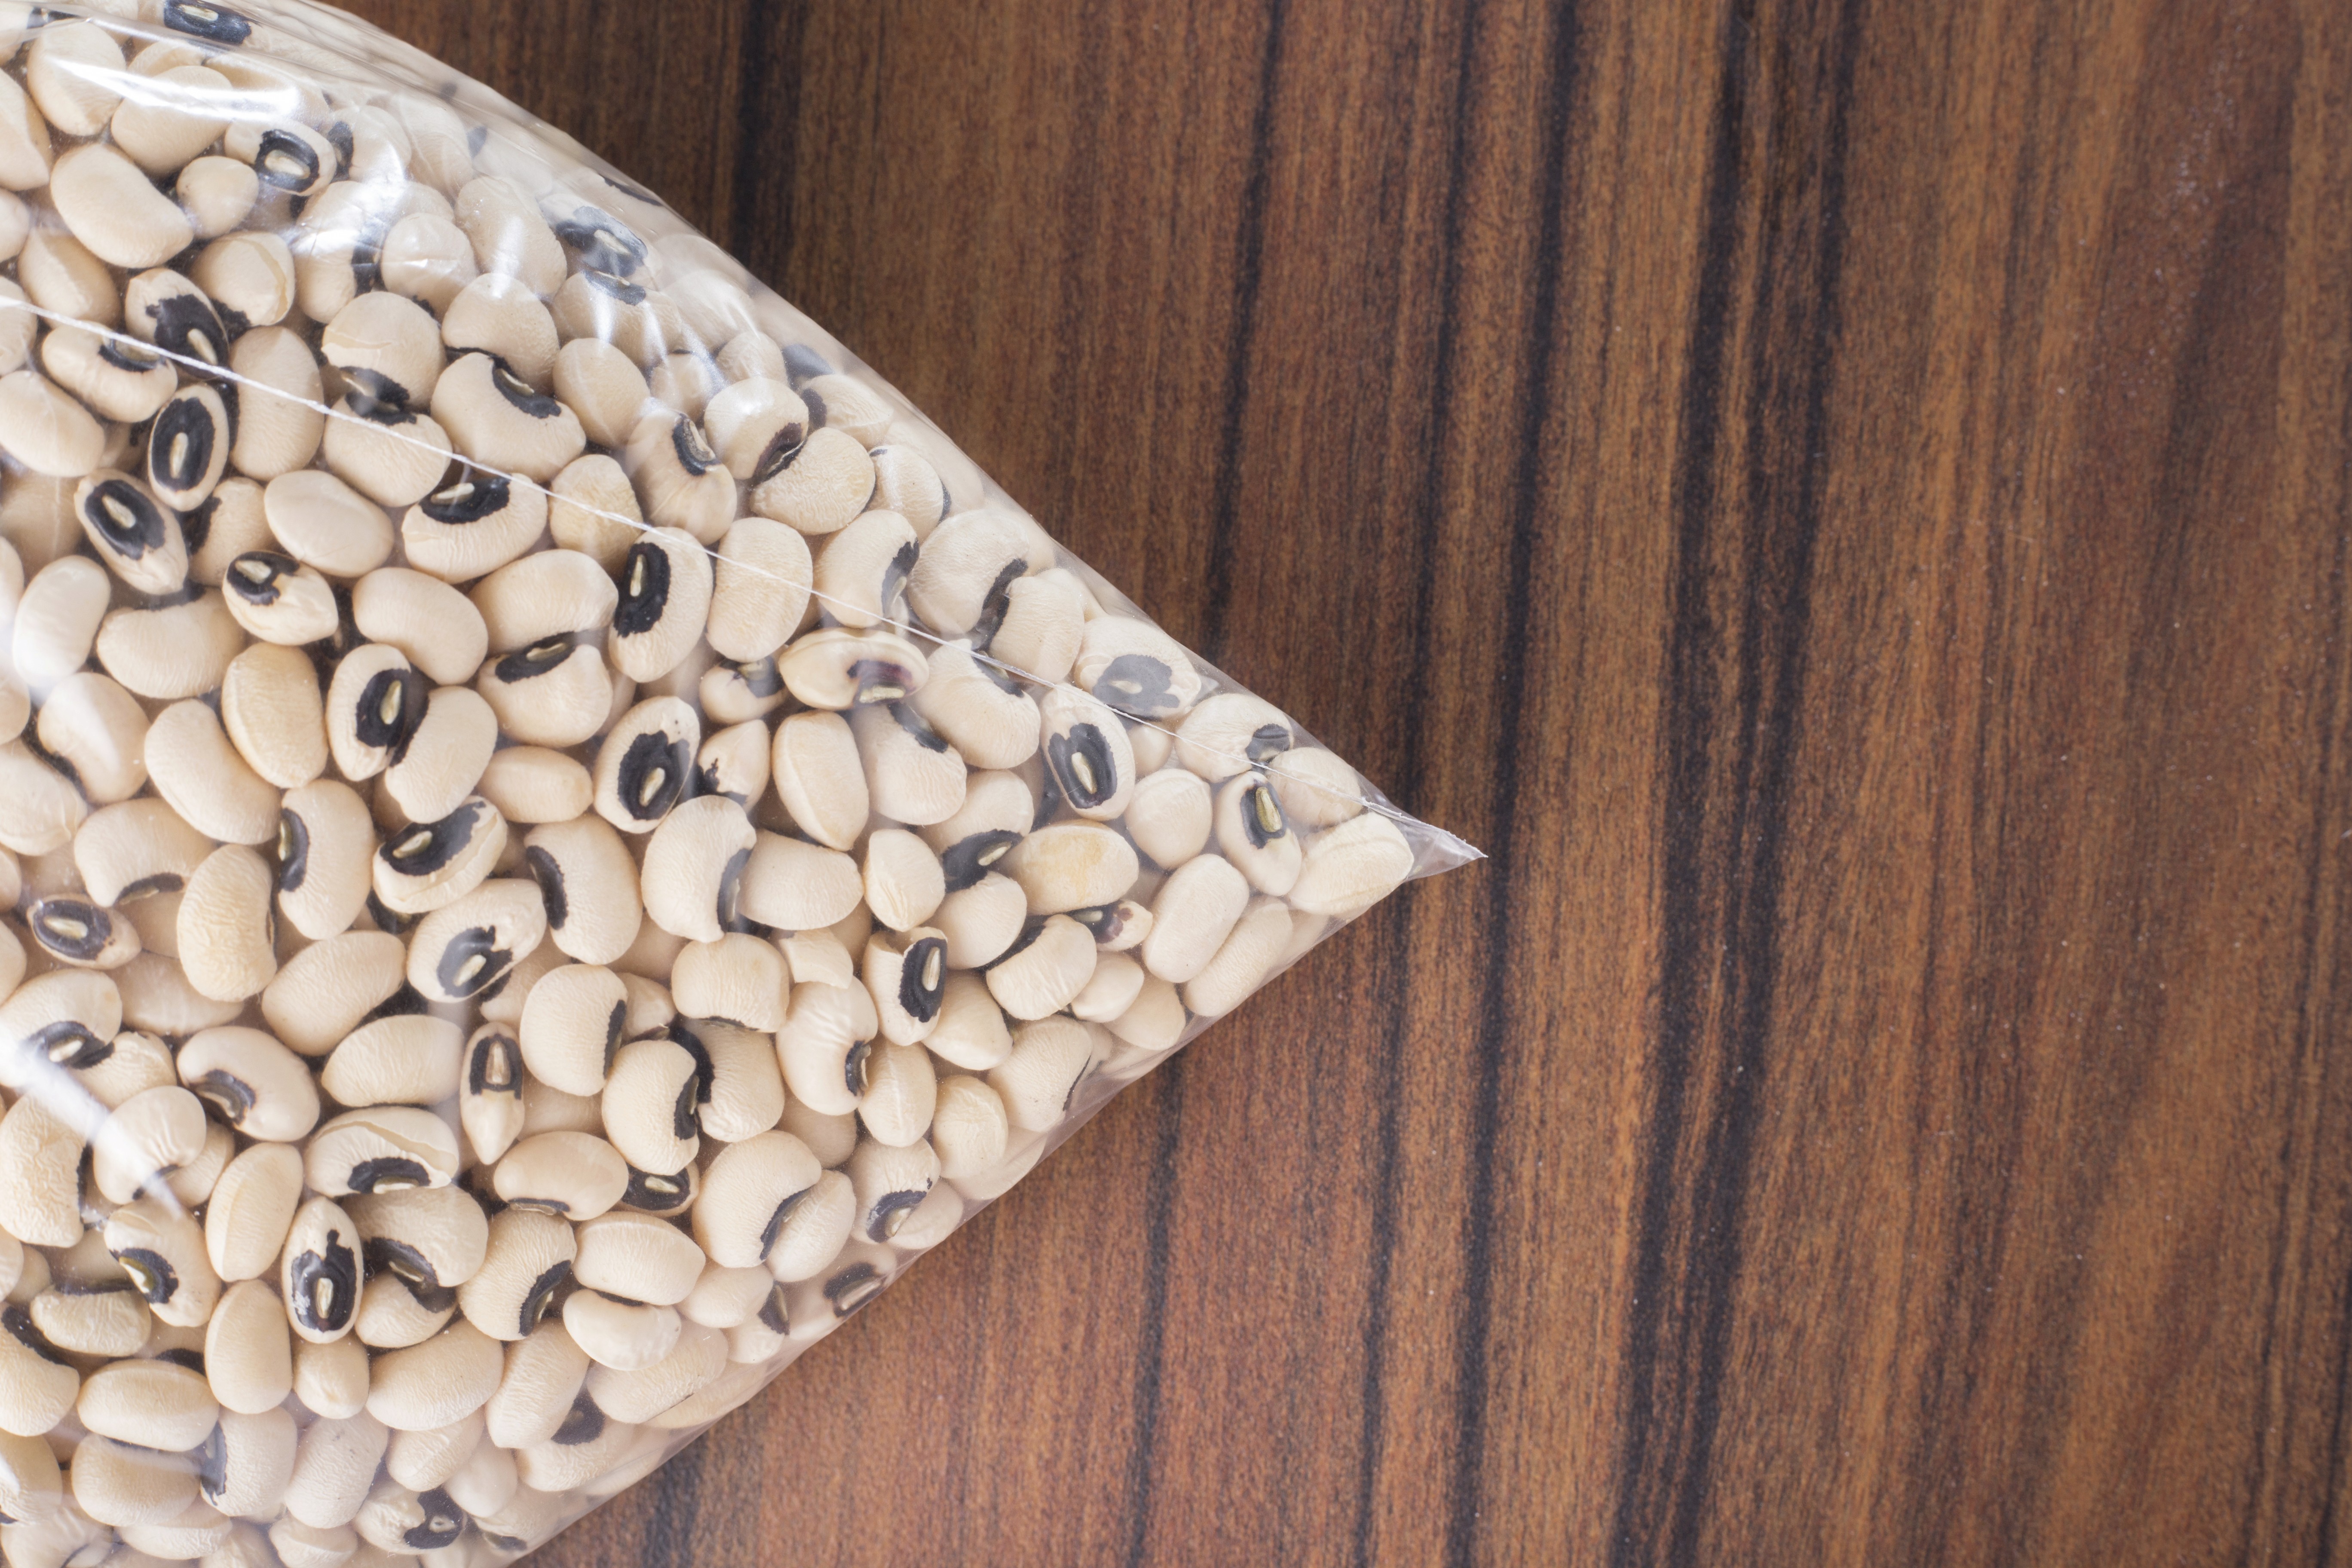
Seed packet counts for legumes are often small, but a bag of dried beans from the grocery store contains many more. If you need an extra 20 or more seeds, take them from a dry bean bag and plant them. Removing a few from your pantry will rarely be missed and can save you money.
Make sure the beans are untreated and fully dried. For peas and beans that do not require variety-specific traits, grocery legumes can be a convenient source.
7. Natural pea trellises from cuttings and small branches
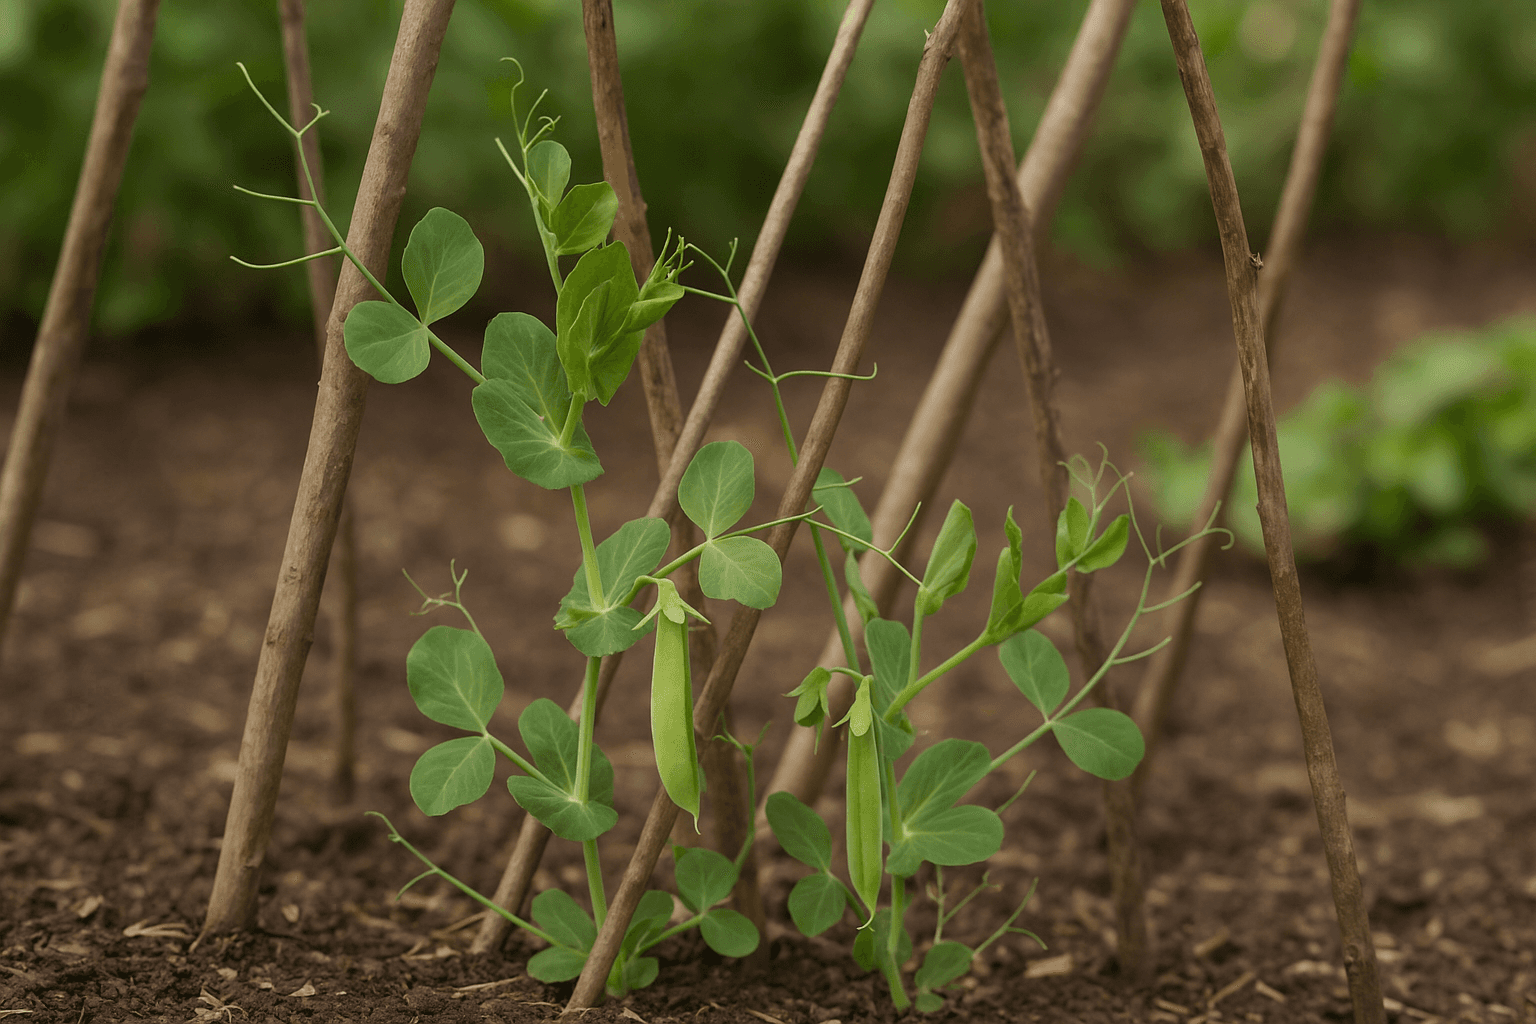
When you prune shrubs or tidy up hedges, keep the twigs and small branches. These make excellent, free supports for peas. Dwarf pea varieties can climb on bundled branches and live their entire season without a manufactured trellis.
Stick branches into the soil in a teepee or zigzag pattern and allow peas to find and climb the sticks.
This is an easy, biodegradable support option that blends well into the garden.
8. Put an old sponge in the bottom of pots to retain moisture

If you have an old sponge that is past cleaning use, cut and place it in the bottom of a pot to cover the drainage hole. Fill the pot with potting mix. As you water, the sponge soaks up water and slowly releases it into the soil, keeping the root zone more evenly moist between waterings.
This is especially helpful for hanging baskets and containers that dry out quickly.
Make sure the sponge is clean and free of chemicals before using it in a planter.
9. Rescue volunteer plants from paths
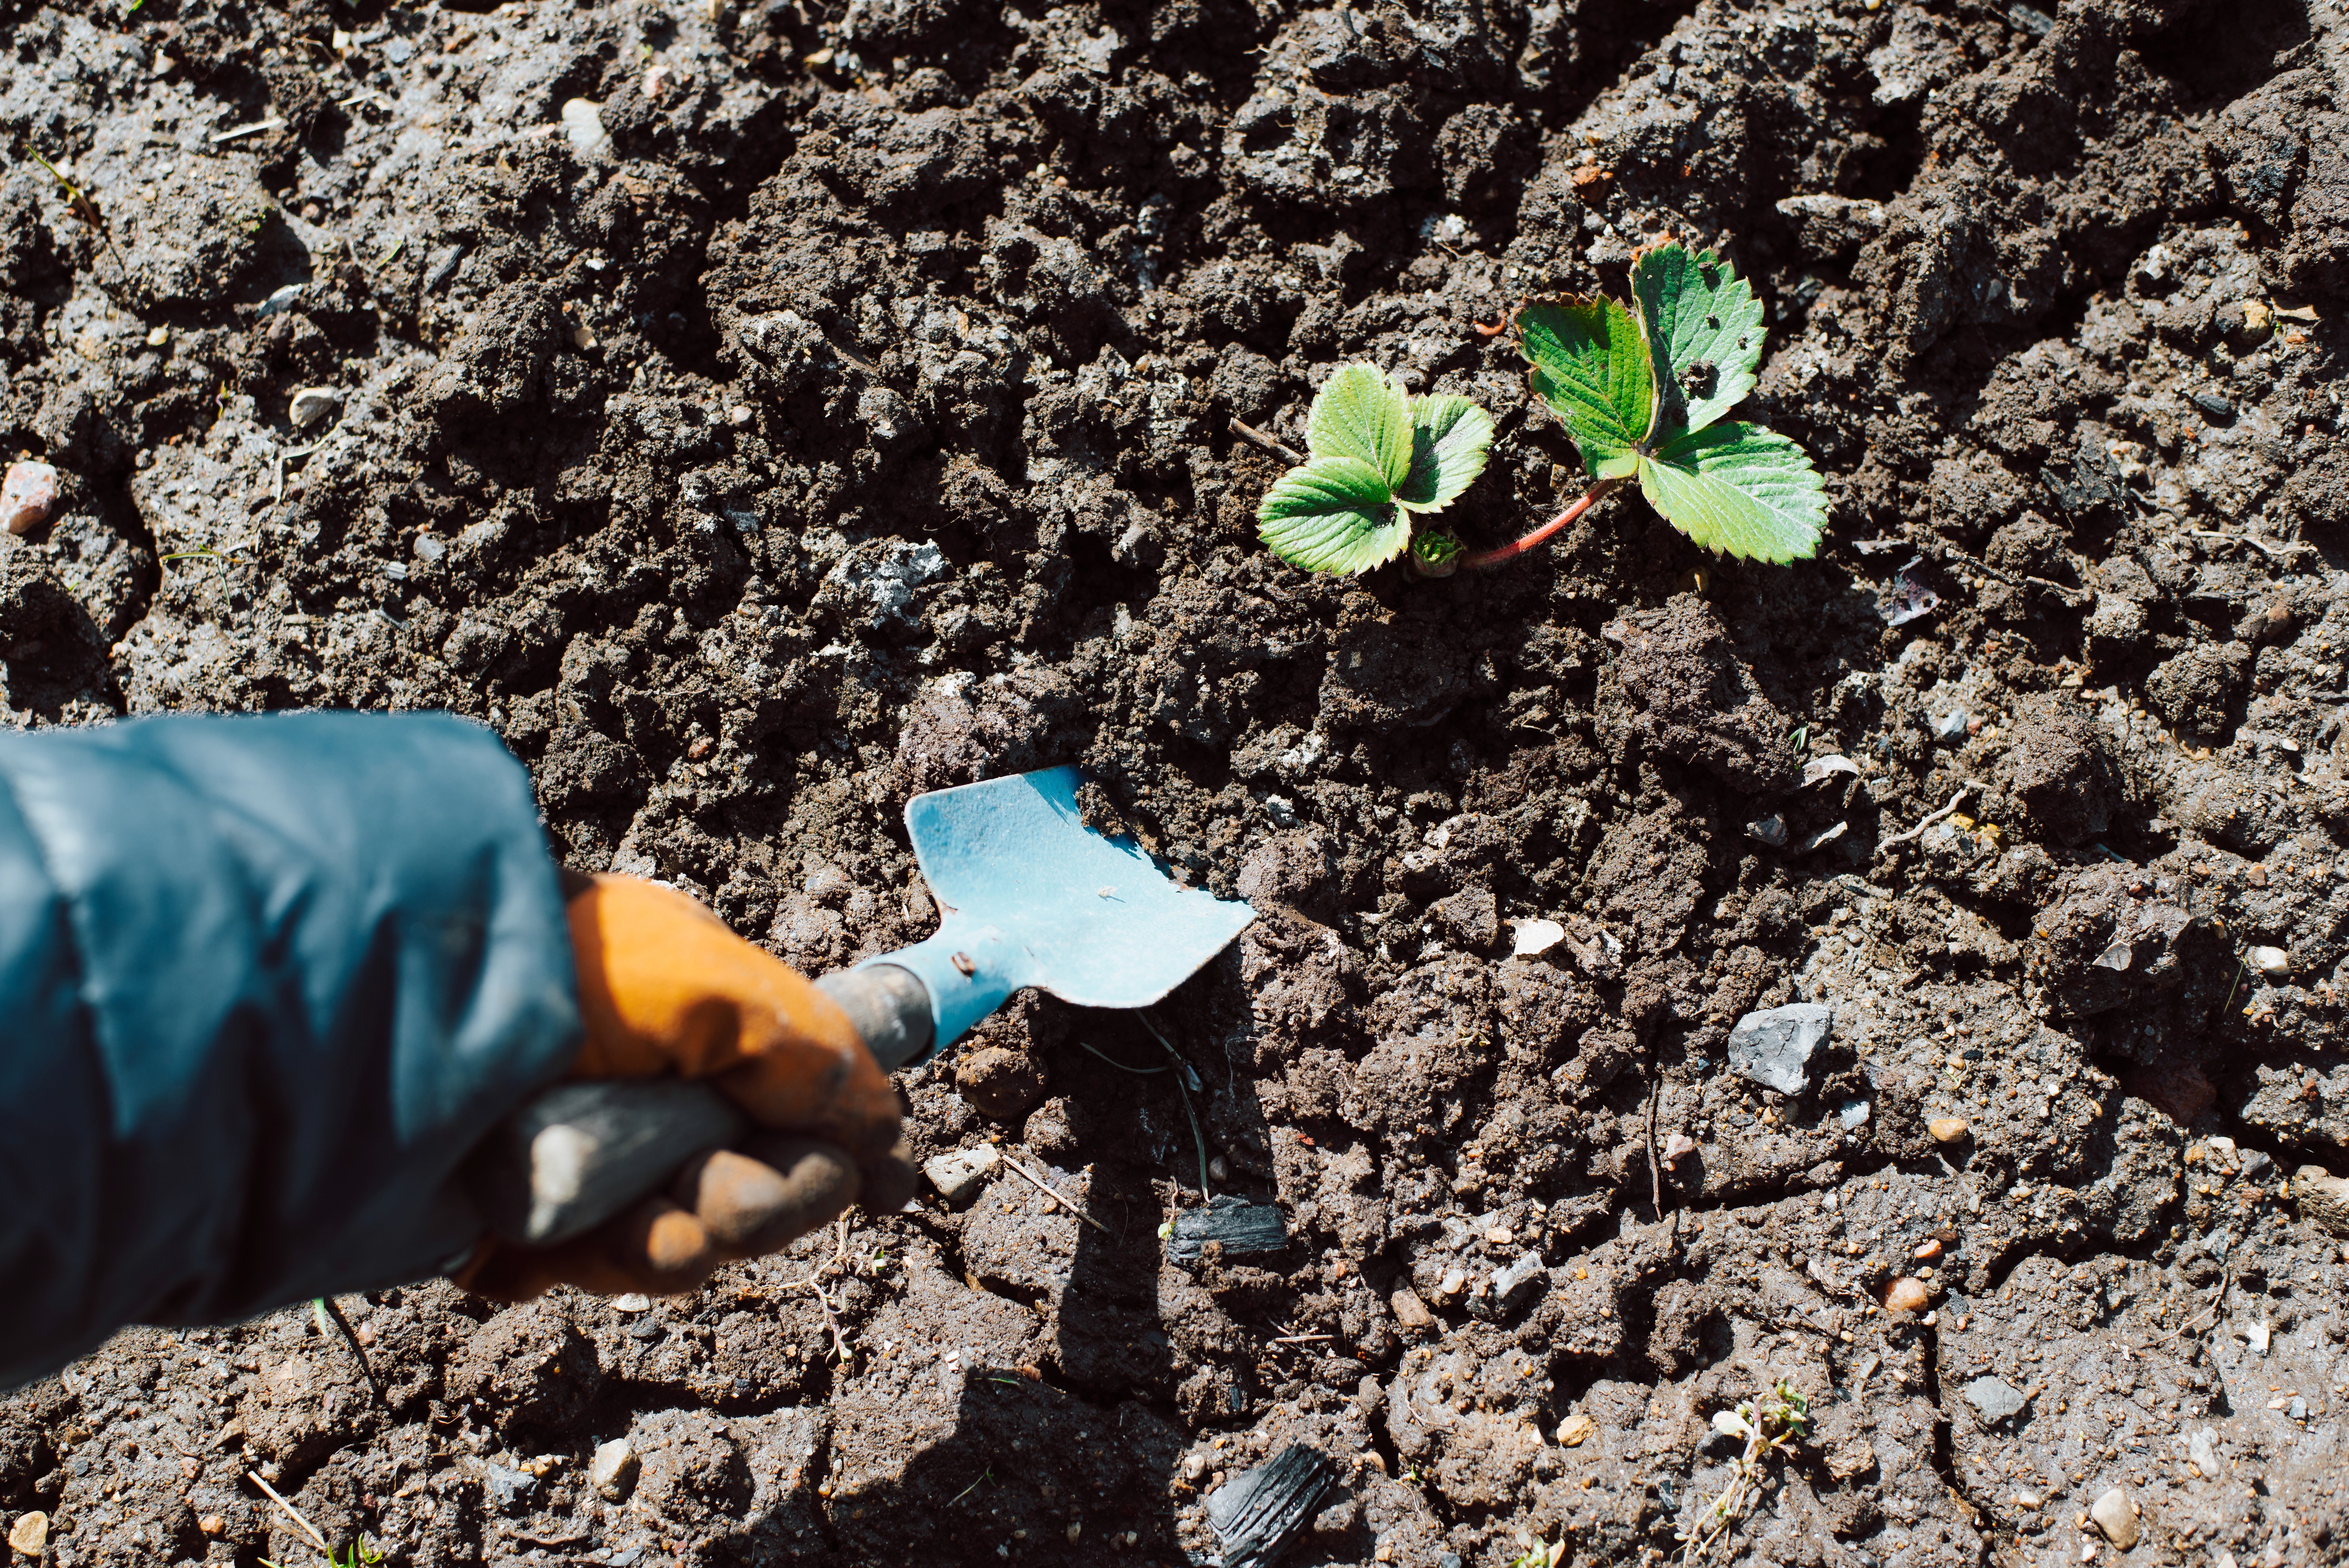
Seeds love to sprout in paths where the soil might be disturbed and compacted. Instead of pulling out volunteers and tossing them, dig them up and transplant them to beds where they can grow. Many volunteer plants are perfectly healthy and can save you time and money.
Transplant on a cool day or in the evening and water well to help reduce transplant shock.
Some volunteers can be left where they are if you want a more naturalized look, but moving them to productive beds is often the best use.
10. Use honey or cinnamon as antifungal rooting aids for cuttings
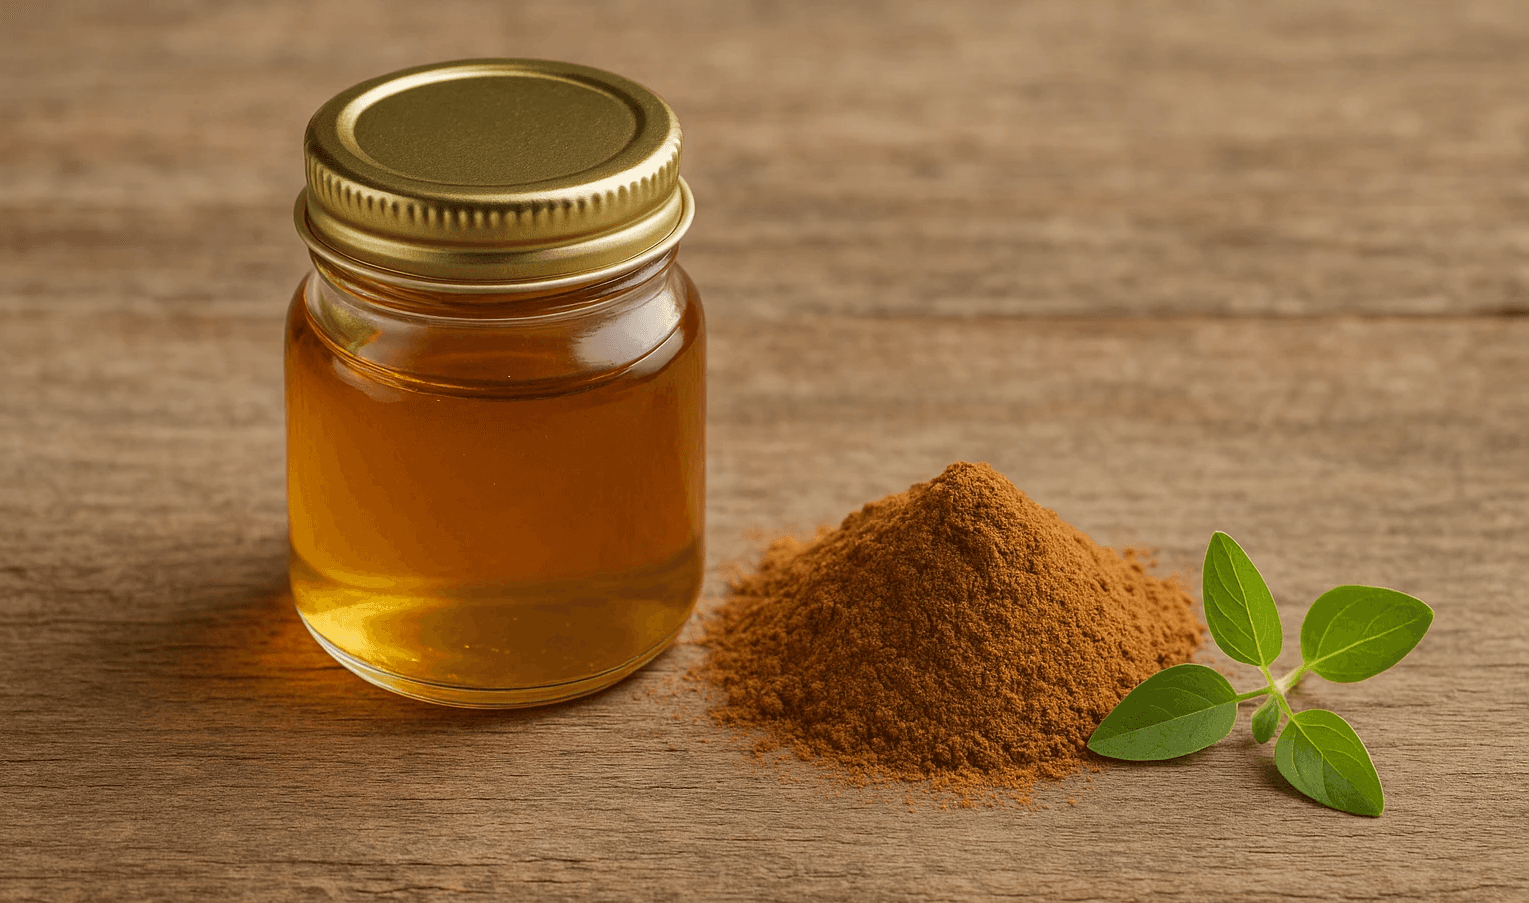
Commercial rooting hormones can be expensive and are not always necessary. What matters most when taking cuttings is preventing fungal disease and rot while the cutting forms roots. Both honey and cinnamon have natural antifungal properties.
Dip the base of softwood or hardwood cuttings in honey or dust them with cinnamon before placing them in your propagation medium.
These natural treatments help reduce fungal infections and often improve your rooting success rate.
Final tips and encouragement
Most of these hacks use items you already have around the house, so you can try them right away. Reusing everyday materials saves money, reduces waste, and often works just as well as store-bought garden products. Give a few of these a try this season and see which ones stick in your routine.
"I would venture to bet you probably have the things laying around the house for 9 out of 10 maybe even 10 out of 10."
Which free garden hack will you try first? Share your favorite low cost or no cost gardening tricks and any variations you have discovered.
Video Guide
Garden centers sell a lot of helpful gadgets, but many useful tools and tricks are free if you use a little ingenuity and things you already have around the house. Below are 10 of my favorite free gardening hacks that save money, reduce waste, and make gardening easier. Try a few this season and see how many everyday items you can put to work in the garden.
1. Seed starting with toilet paper and paper towel tubes
Instead of buying seed trays or peat pots, use empty toilet paper or paper towel tubes to start seeds. Place tubes side by side inside a container that already has drainage holes. Fill with seed starting mix. The mix that falls between the tubes will help hold them upright.
This method works especially well for peas, beans, and other legumes, and even sweet pea flowers because they prefer deeper root systems.
When the seedlings are ready, plant the whole tube in the ground. The cardboard breaks down quickly and reduces transplant shock.
2. DIY slug trap using plywood
Slugs can decimate young lettuce and other tender seedlings. One simple trap is to lay a piece of old plywood on wet ground overnight. Slugs gather underneath the board where it is cool and dark, and you can collect and dispose of them in the morning.
Wet the ground first to make the area more attractive to slugs.
Dispose of the slugs however you prefer.
3. Plastic bottle hacks: mini greenhouses and deep watering
Plastic bottles are incredibly useful in the garden. A 2 liter bottle can become a mini greenhouse or a deep-watering device for thirsty plants.
To make a cloche for seedlings, cut the bottom off a bottle and place it over the plant. Push a bamboo stake through the bottle and into the soil to keep it from blowing away.
For deep watering, poke several holes in the cap, cut the bottom off, and bury the bottle next to deep-rooted plants like tomatoes. Fill the bottle with water and let it slowly seep out, providing consistent moisture to the root zone.
To prevent soil from clogging the holes, you can put the bottom back on the bottle after burying or cover it as needed.
4. Make plant tags from recycled plastic and blinds
Plant tags can be costly and get lost every season. Reuse semi-rigid plastic containers such as yogurt tubs or sour cream containers by cutting them into strips for labels. Old window blinds also make durable, reusable tags. I once made hundreds of metal-style markers that lasted for years.
Write on plastic tags with a permanent marker or pencil for long-term labeling.
Cut blinds or plastic containers to whatever size you need for easy, weatherproof markers.
5. Evenly space tiny seeds with a shaker bottle and sand
Sowing very small seeds like lettuce or carrot can be frustrating because you often have to thin them later. Repurpose a spice shaker bottle with holes in the top by filling it with a couple tablespoons of sand and the seeds from one packet. Shake to mix and then sprinkle over your prepared row or tray.
The sand acts as a carrier to distribute seeds more evenly and reduce overcrowding.
This works well for small garden beds and seed trays alike.
6. Use grocery store dried beans and peas as free seeds
Seed packet counts for legumes are often small, but a bag of dried beans from the grocery store contains many more. If you need an extra 20 or more seeds, take them from a dry bean bag and plant them. Removing a few from your pantry will rarely be missed and can save you money.
Make sure the beans are untreated and fully dried. For peas and beans that do not require variety-specific traits, grocery legumes can be a convenient source.
7. Natural pea trellises from cuttings and small branches
When you prune shrubs or tidy up hedges, keep the twigs and small branches. These make excellent, free supports for peas. Dwarf pea varieties can climb on bundled branches and live their entire season without a manufactured trellis.
Stick branches into the soil in a teepee or zigzag pattern and allow peas to find and climb the sticks.
This is an easy, biodegradable support option that blends well into the garden.
8. Put an old sponge in the bottom of pots to retain moisture
If you have an old sponge that is past cleaning use, cut and place it in the bottom of a pot to cover the drainage hole. Fill the pot with potting mix. As you water, the sponge soaks up water and slowly releases it into the soil, keeping the root zone more evenly moist between waterings.
This is especially helpful for hanging baskets and containers that dry out quickly.
Make sure the sponge is clean and free of chemicals before using it in a planter.
9. Rescue volunteer plants from paths
Seeds love to sprout in paths where the soil might be disturbed and compacted. Instead of pulling out volunteers and tossing them, dig them up and transplant them to beds where they can grow. Many volunteer plants are perfectly healthy and can save you time and money.
Transplant on a cool day or in the evening and water well to help reduce transplant shock.
Some volunteers can be left where they are if you want a more naturalized look, but moving them to productive beds is often the best use.
10. Use honey or cinnamon as antifungal rooting aids for cuttings
Commercial rooting hormones can be expensive and are not always necessary. What matters most when taking cuttings is preventing fungal disease and rot while the cutting forms roots. Both honey and cinnamon have natural antifungal properties.
Dip the base of softwood or hardwood cuttings in honey or dust them with cinnamon before placing them in your propagation medium.
These natural treatments help reduce fungal infections and often improve your rooting success rate.
Final tips and encouragement
Most of these hacks use items you already have around the house, so you can try them right away. Reusing everyday materials saves money, reduces waste, and often works just as well as store-bought garden products. Give a few of these a try this season and see which ones stick in your routine.
"I would venture to bet you probably have the things laying around the house for 9 out of 10 maybe even 10 out of 10."
Which free garden hack will you try first? Share your favorite low cost or no cost gardening tricks and any variations you have discovered.
Video Guide
Free Weekly Garden Tips
Join my free newsletter to receive weekly garden insights + things I think you'll find interesting!
Free Weekly Garden Tips
Join my free newsletter to receive weekly garden insights + things I think you'll find interesting!
Free Weekly Garden Tips
Join my free newsletter to receive weekly garden insights + things I think you'll find interesting!
Let's grow your dream garden.

Subscribe
Join our newsletter to stay up to date on everything happening!
By subscribing you agree to our Privacy Policy and provide consent to receive updates from our company.
Let's grow your dream garden.
Subscribe
Join our newsletter to stay up to date on everything happening!
By subscribing you agree to our Privacy Policy and provide consent to receive updates from our company.
Let's grow your dream garden.
Subscribe
Join our newsletter to stay up to date on everything happening!
By subscribing you agree to our Privacy Policy and provide consent to receive updates from our company.