Best Way to Start Tomato Seeds Indoors (or Outdoors)
Best Way to Start Tomato Seeds Indoors (or Outdoors)
Feb 24, 2025

Best Way to Start Tomato Seeds Indoors (or Outdoors)
Starting tomato seeds correctly is the foundation for a bountiful harvest. Whether you’re a seasoned gardener or a beginner, understanding the process of sowing tomato seeds indoors or outdoors can significantly impact the quality and quantity of your tomatoes. In this guide, we’ll dive deep into the steps you need to follow to ensure your tomato plants thrive.
Why Starting Seeds Matters
Two years ago, a comprehensive guide on growing tomatoes was released, which quickly became a hit on YouTube, garnering nearly six million views. Since then, many gardeners have achieved impressive results, such as harvesting over 800 tomatoes from a small 40 square foot raised bed. The success of your tomatoes ultimately stems from the day you sow the seeds.
Choosing Your Tomato Varieties
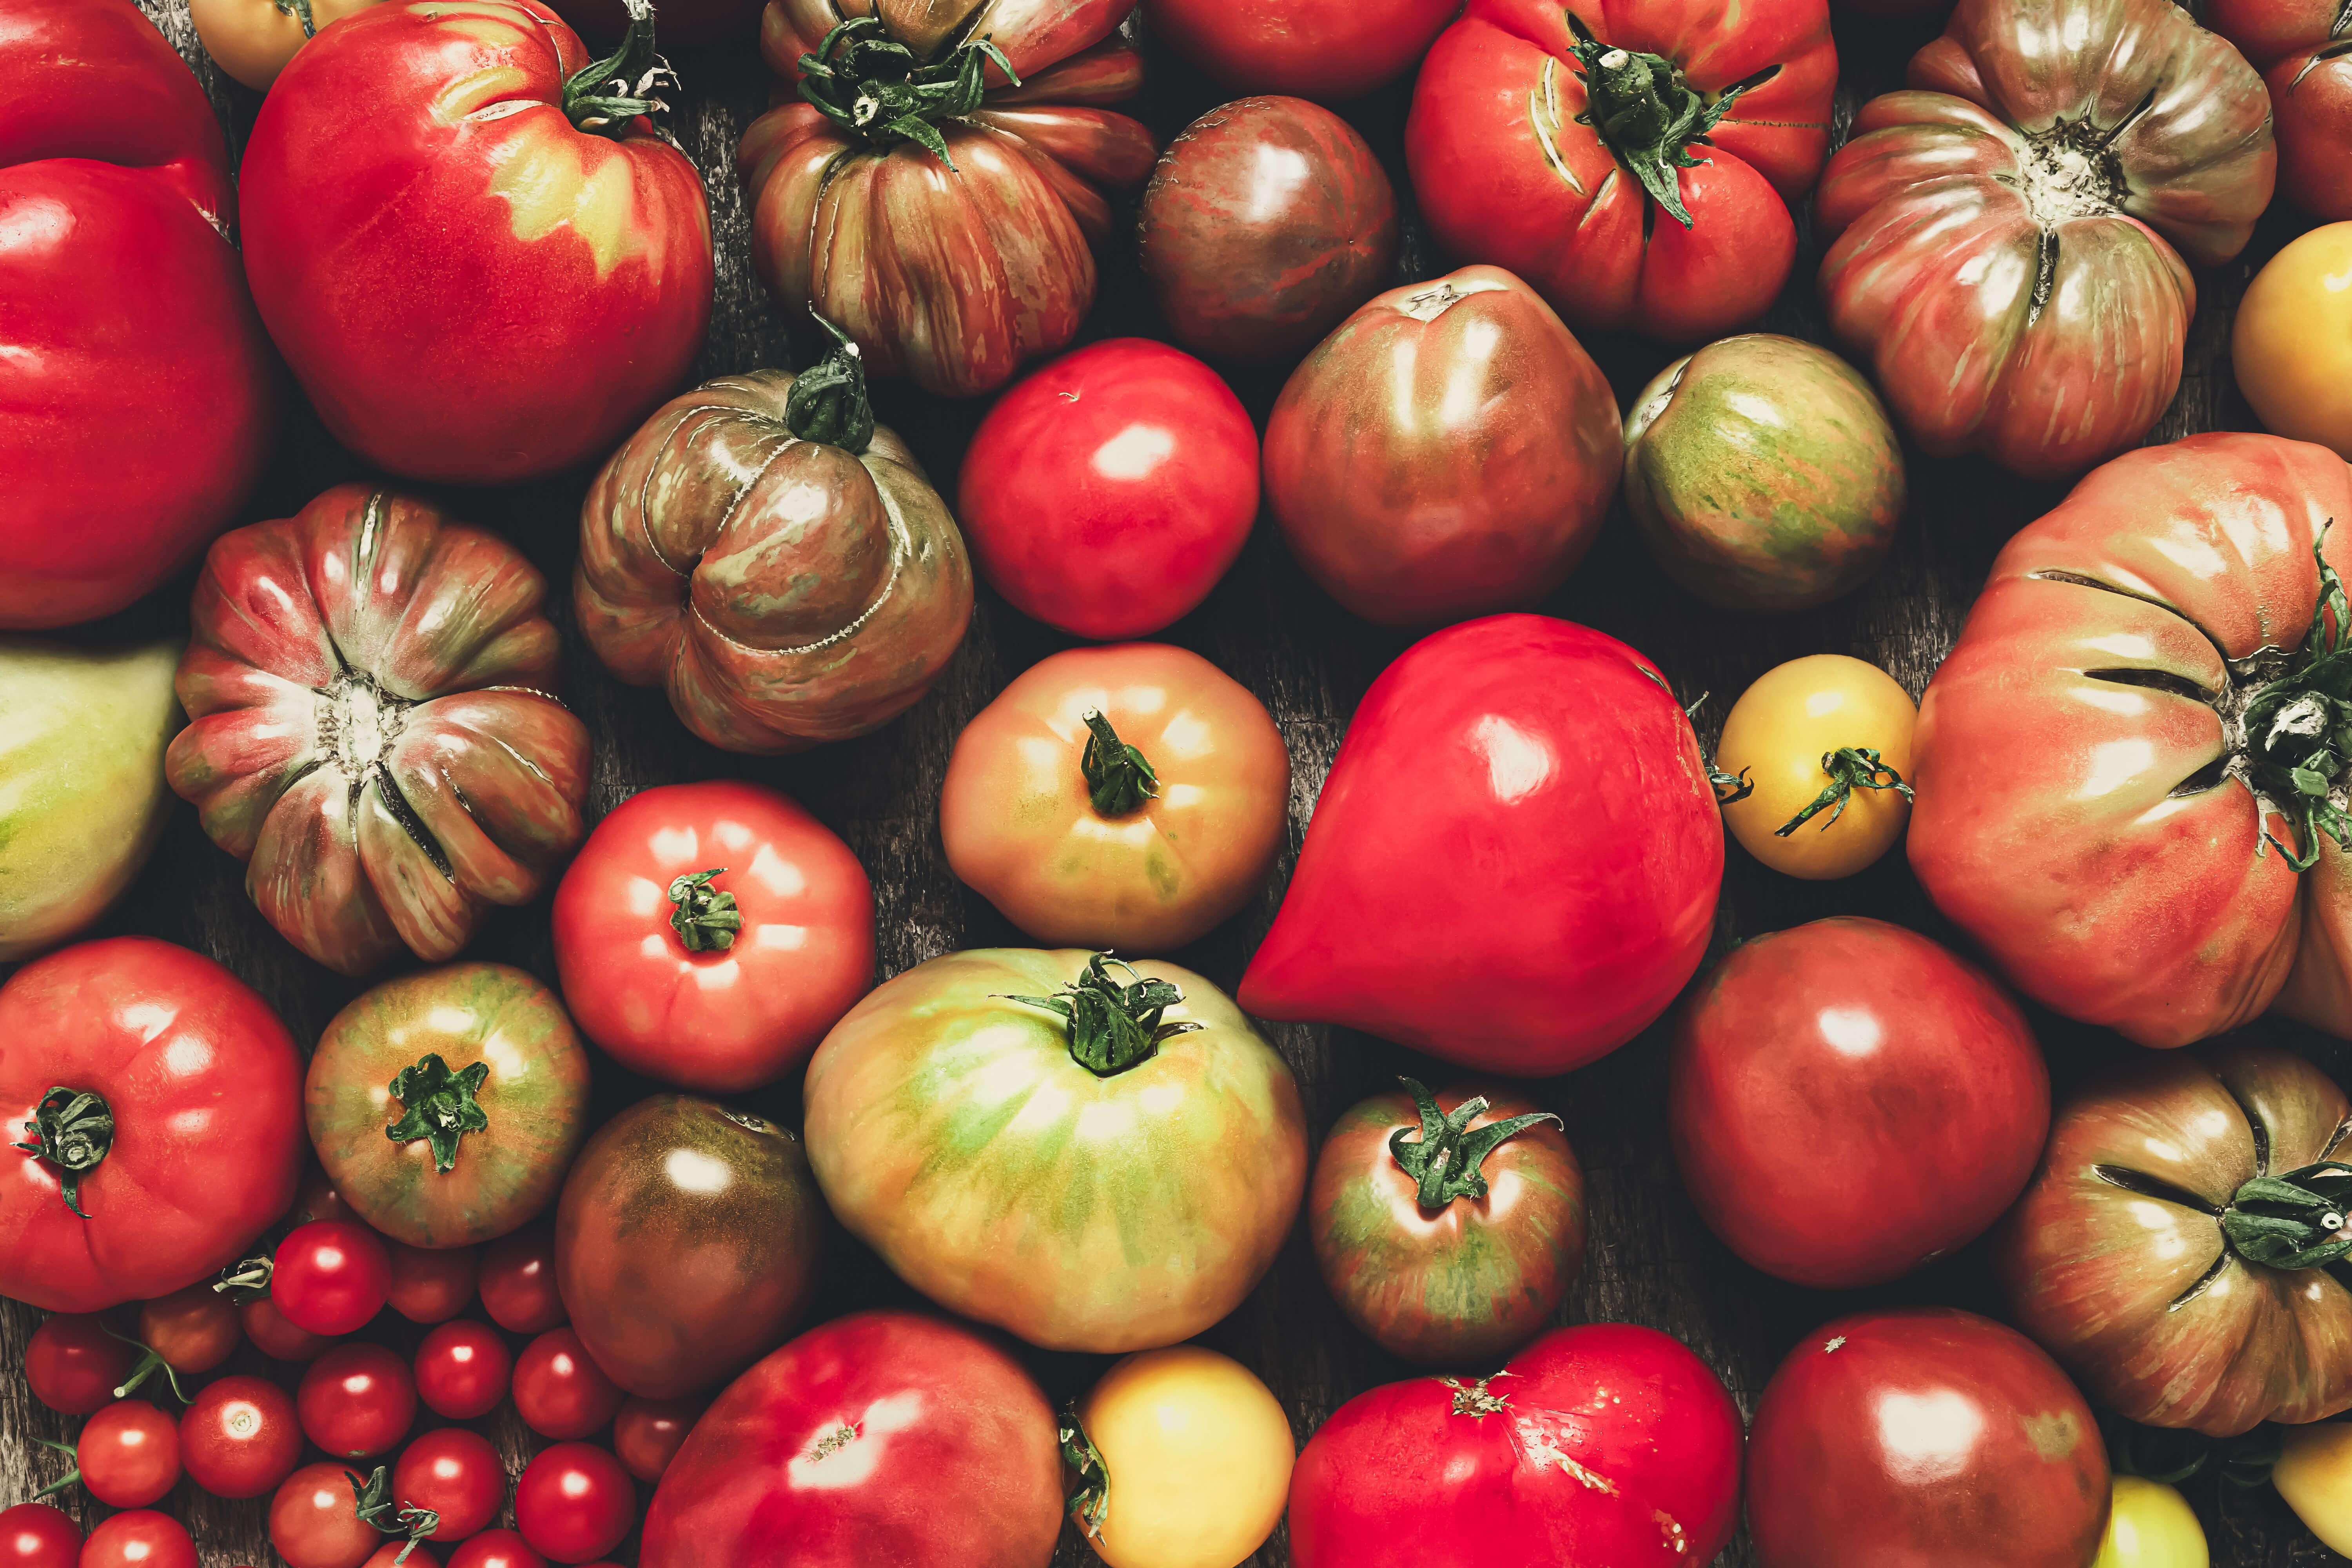
Before diving into the sowing process, it's essential to select the right varieties of tomatoes. This year, I'm excited to grow:
Sun Gold: Known for being the sweetest tomato.
Sweetheart Cherry: A new variety with a sweet, berry-like flavor.
Kellogg's Breakfast: My favorite yellow heirloom tomato that’s super sweet and firm.
Steakhouse Hybrid: A massive beefsteak tomato with outstanding flavor.
Amish Paste: An excellent choice for paste and canning.
Feel free to share your favorite tomato varieties in the comments!
Timing Your Seed Starting
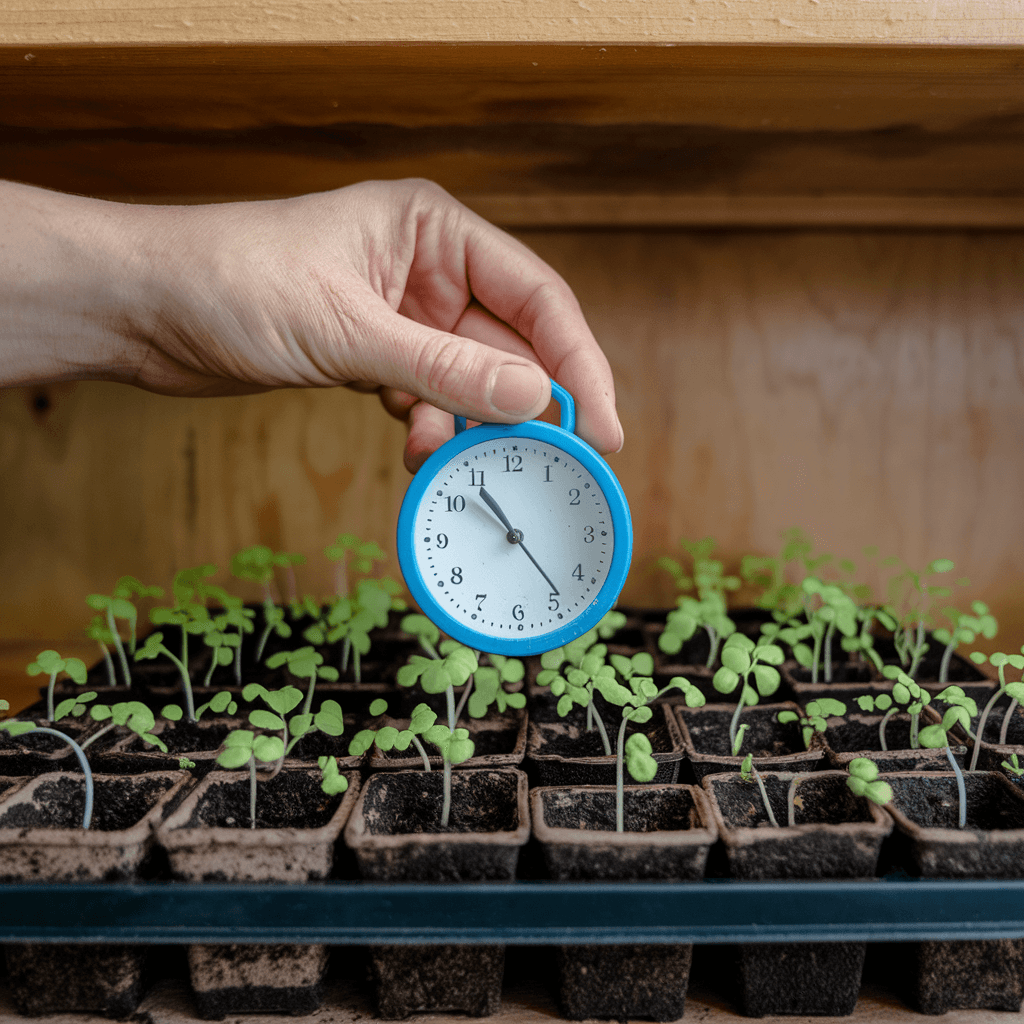
Tomato seeds can be started indoors six to eight weeks before your last frost date. For those in cooler climates, planting should occur two to three weeks after the last frost. This timing ensures that your plants have ample time to grow strong before being transplanted outdoors.
Selecting the Right Containers
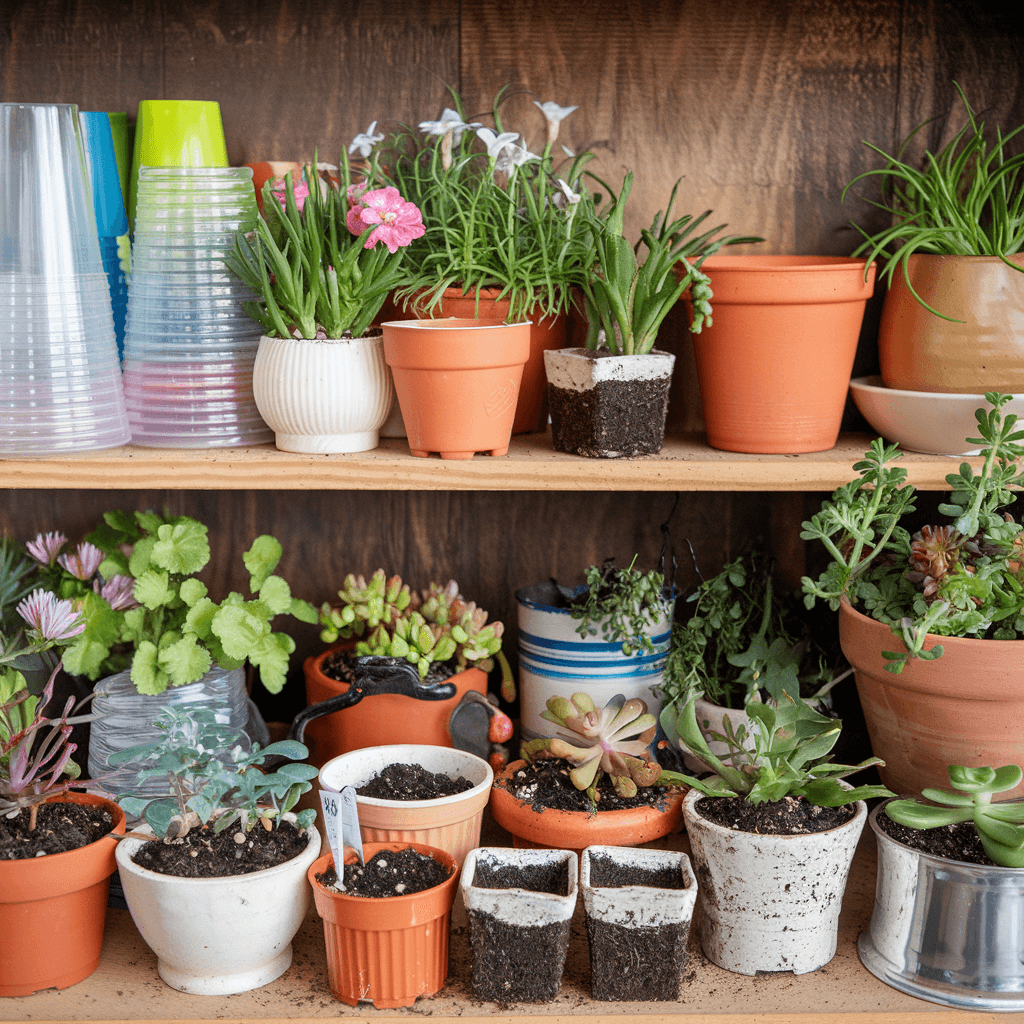
When choosing containers for starting your seeds, red solo cups are an excellent option. They’re the perfect size and can be reused for several years. Just remember to drill a few holes in the bottom for drainage. You can also use other containers, but ensure they are taller rather than wide, as tomatoes can develop roots along their stems, which promotes stronger plants.
Using taller containers allows for deeper root systems, leading to more robust plants that are better able to resist pests and diseases.
Preparing Your Growing Medium
The growing medium is crucial for seed starting. A blend of 50% coco coir and 50% peat, along with a few handfuls of perlite for drainage, works well. This mixture should be pre-moistened, resembling a rung-out sponge, before filling your cups.
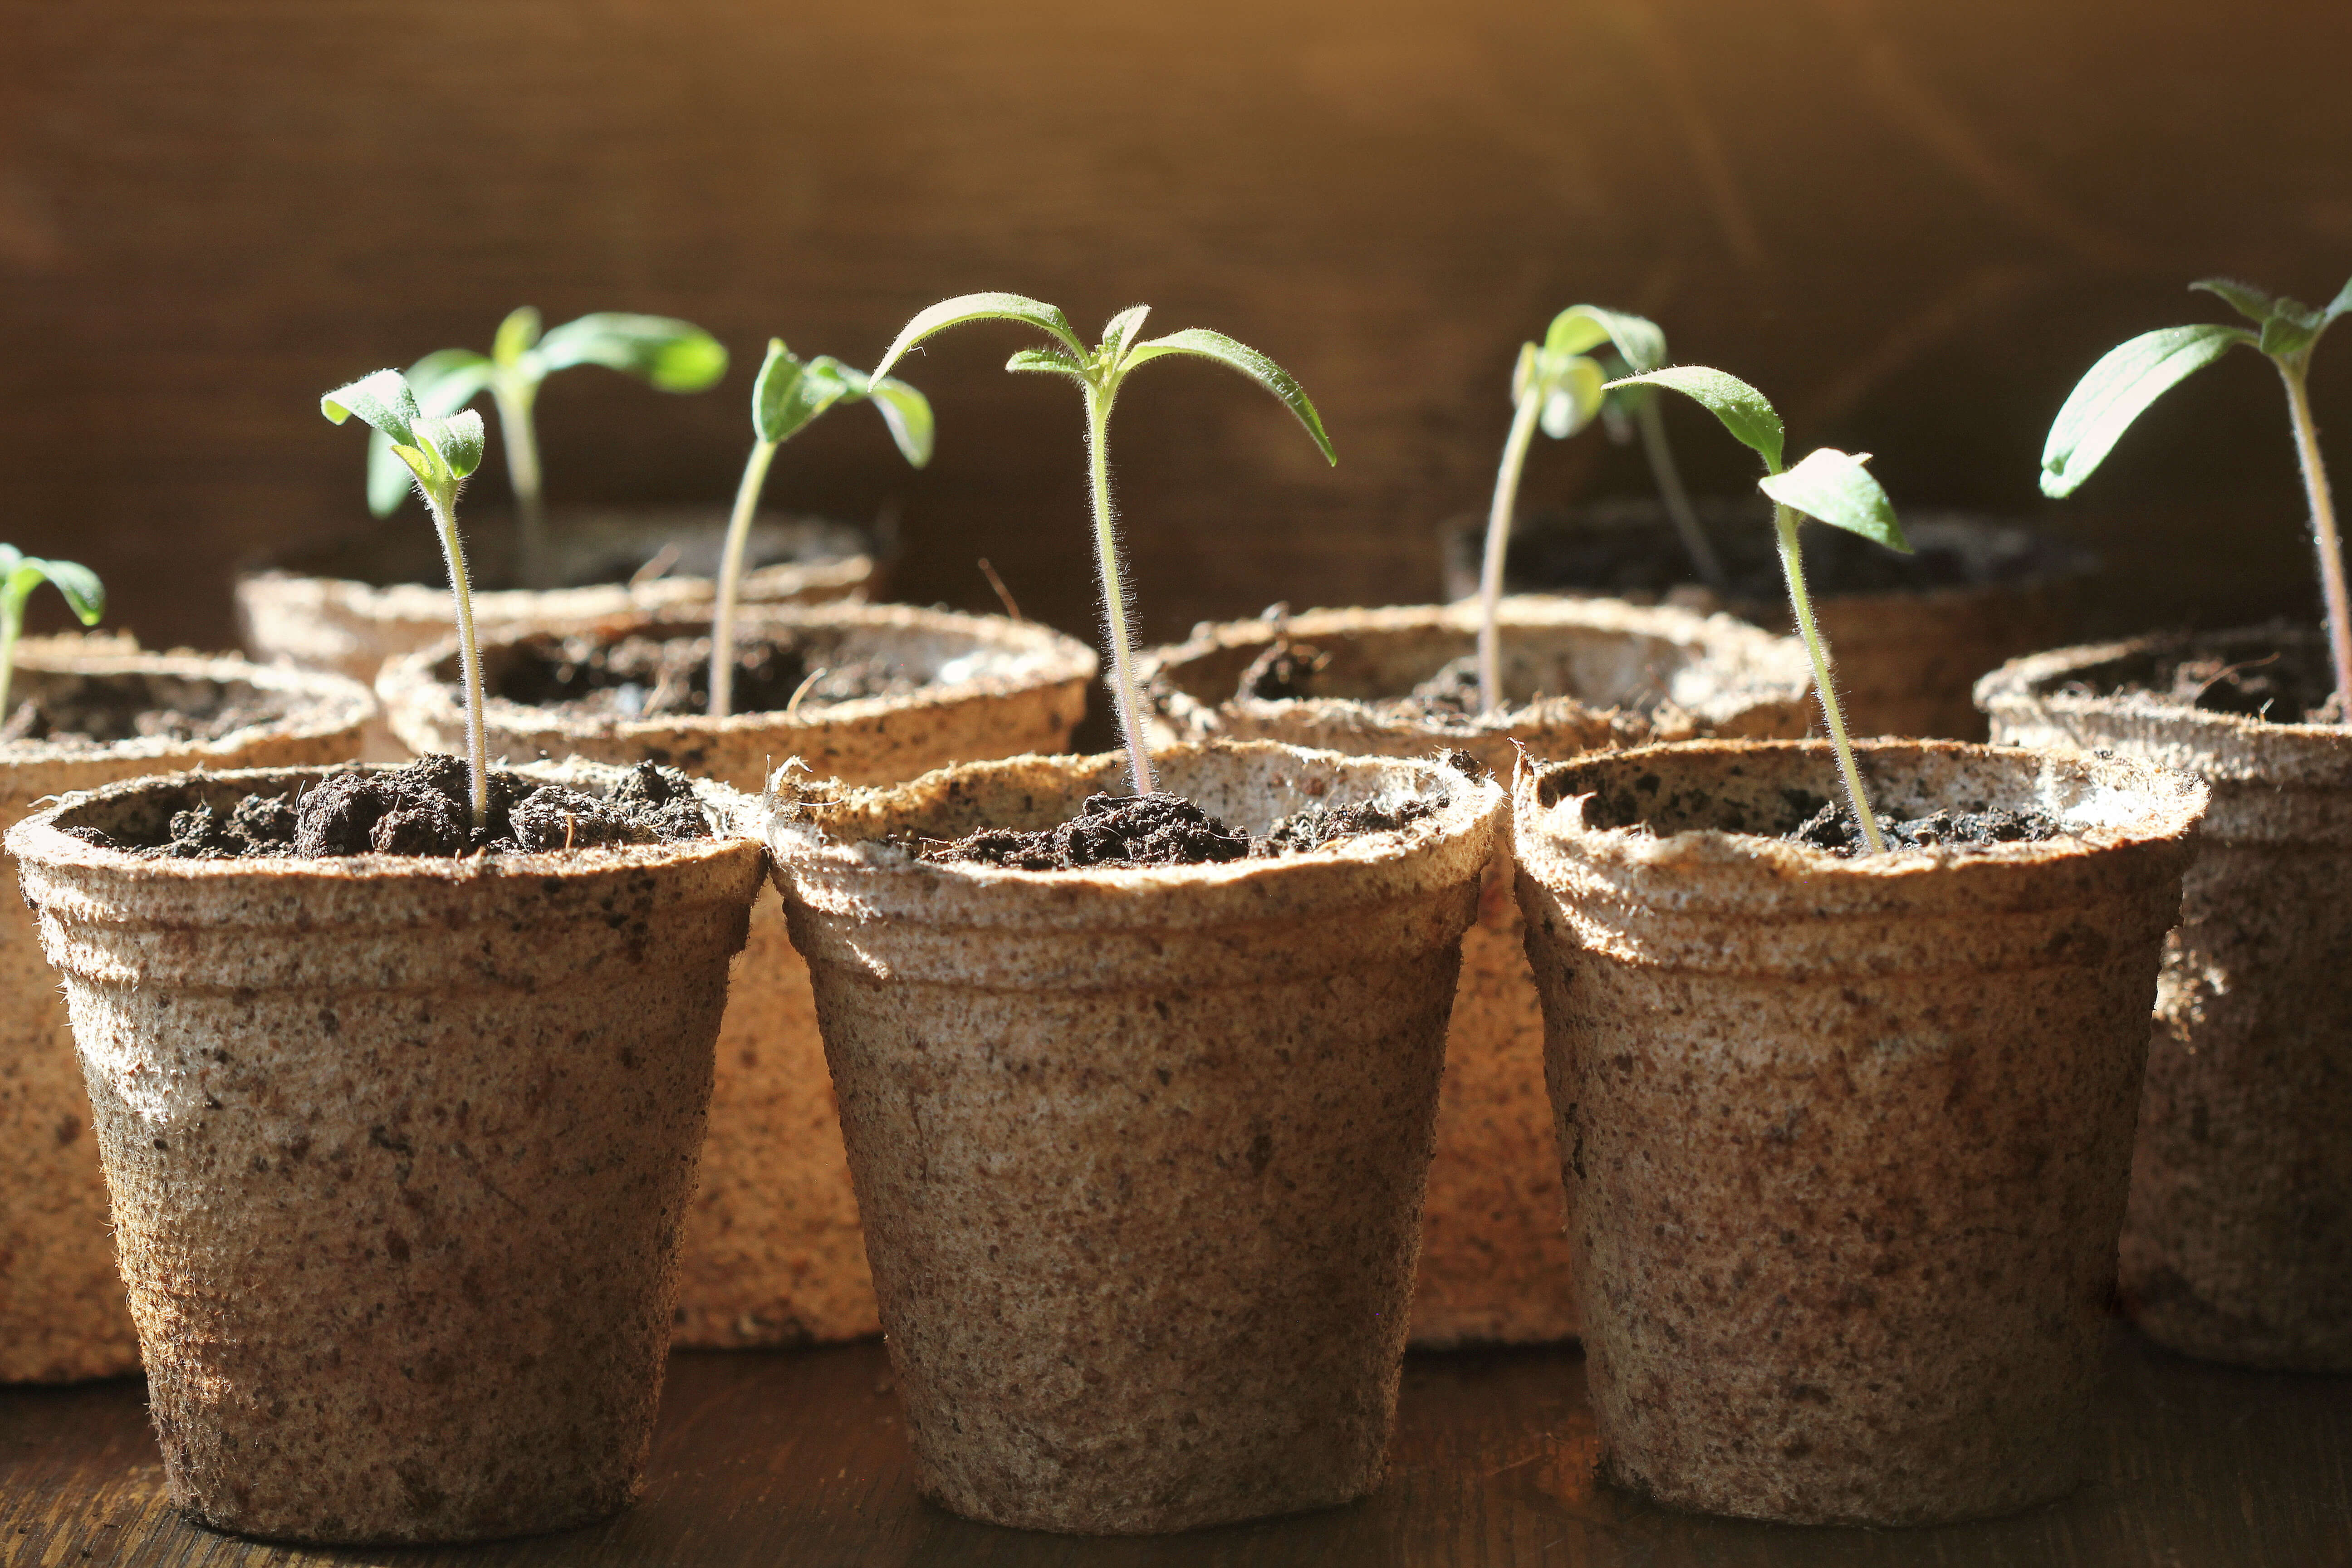
Sowing the Seeds
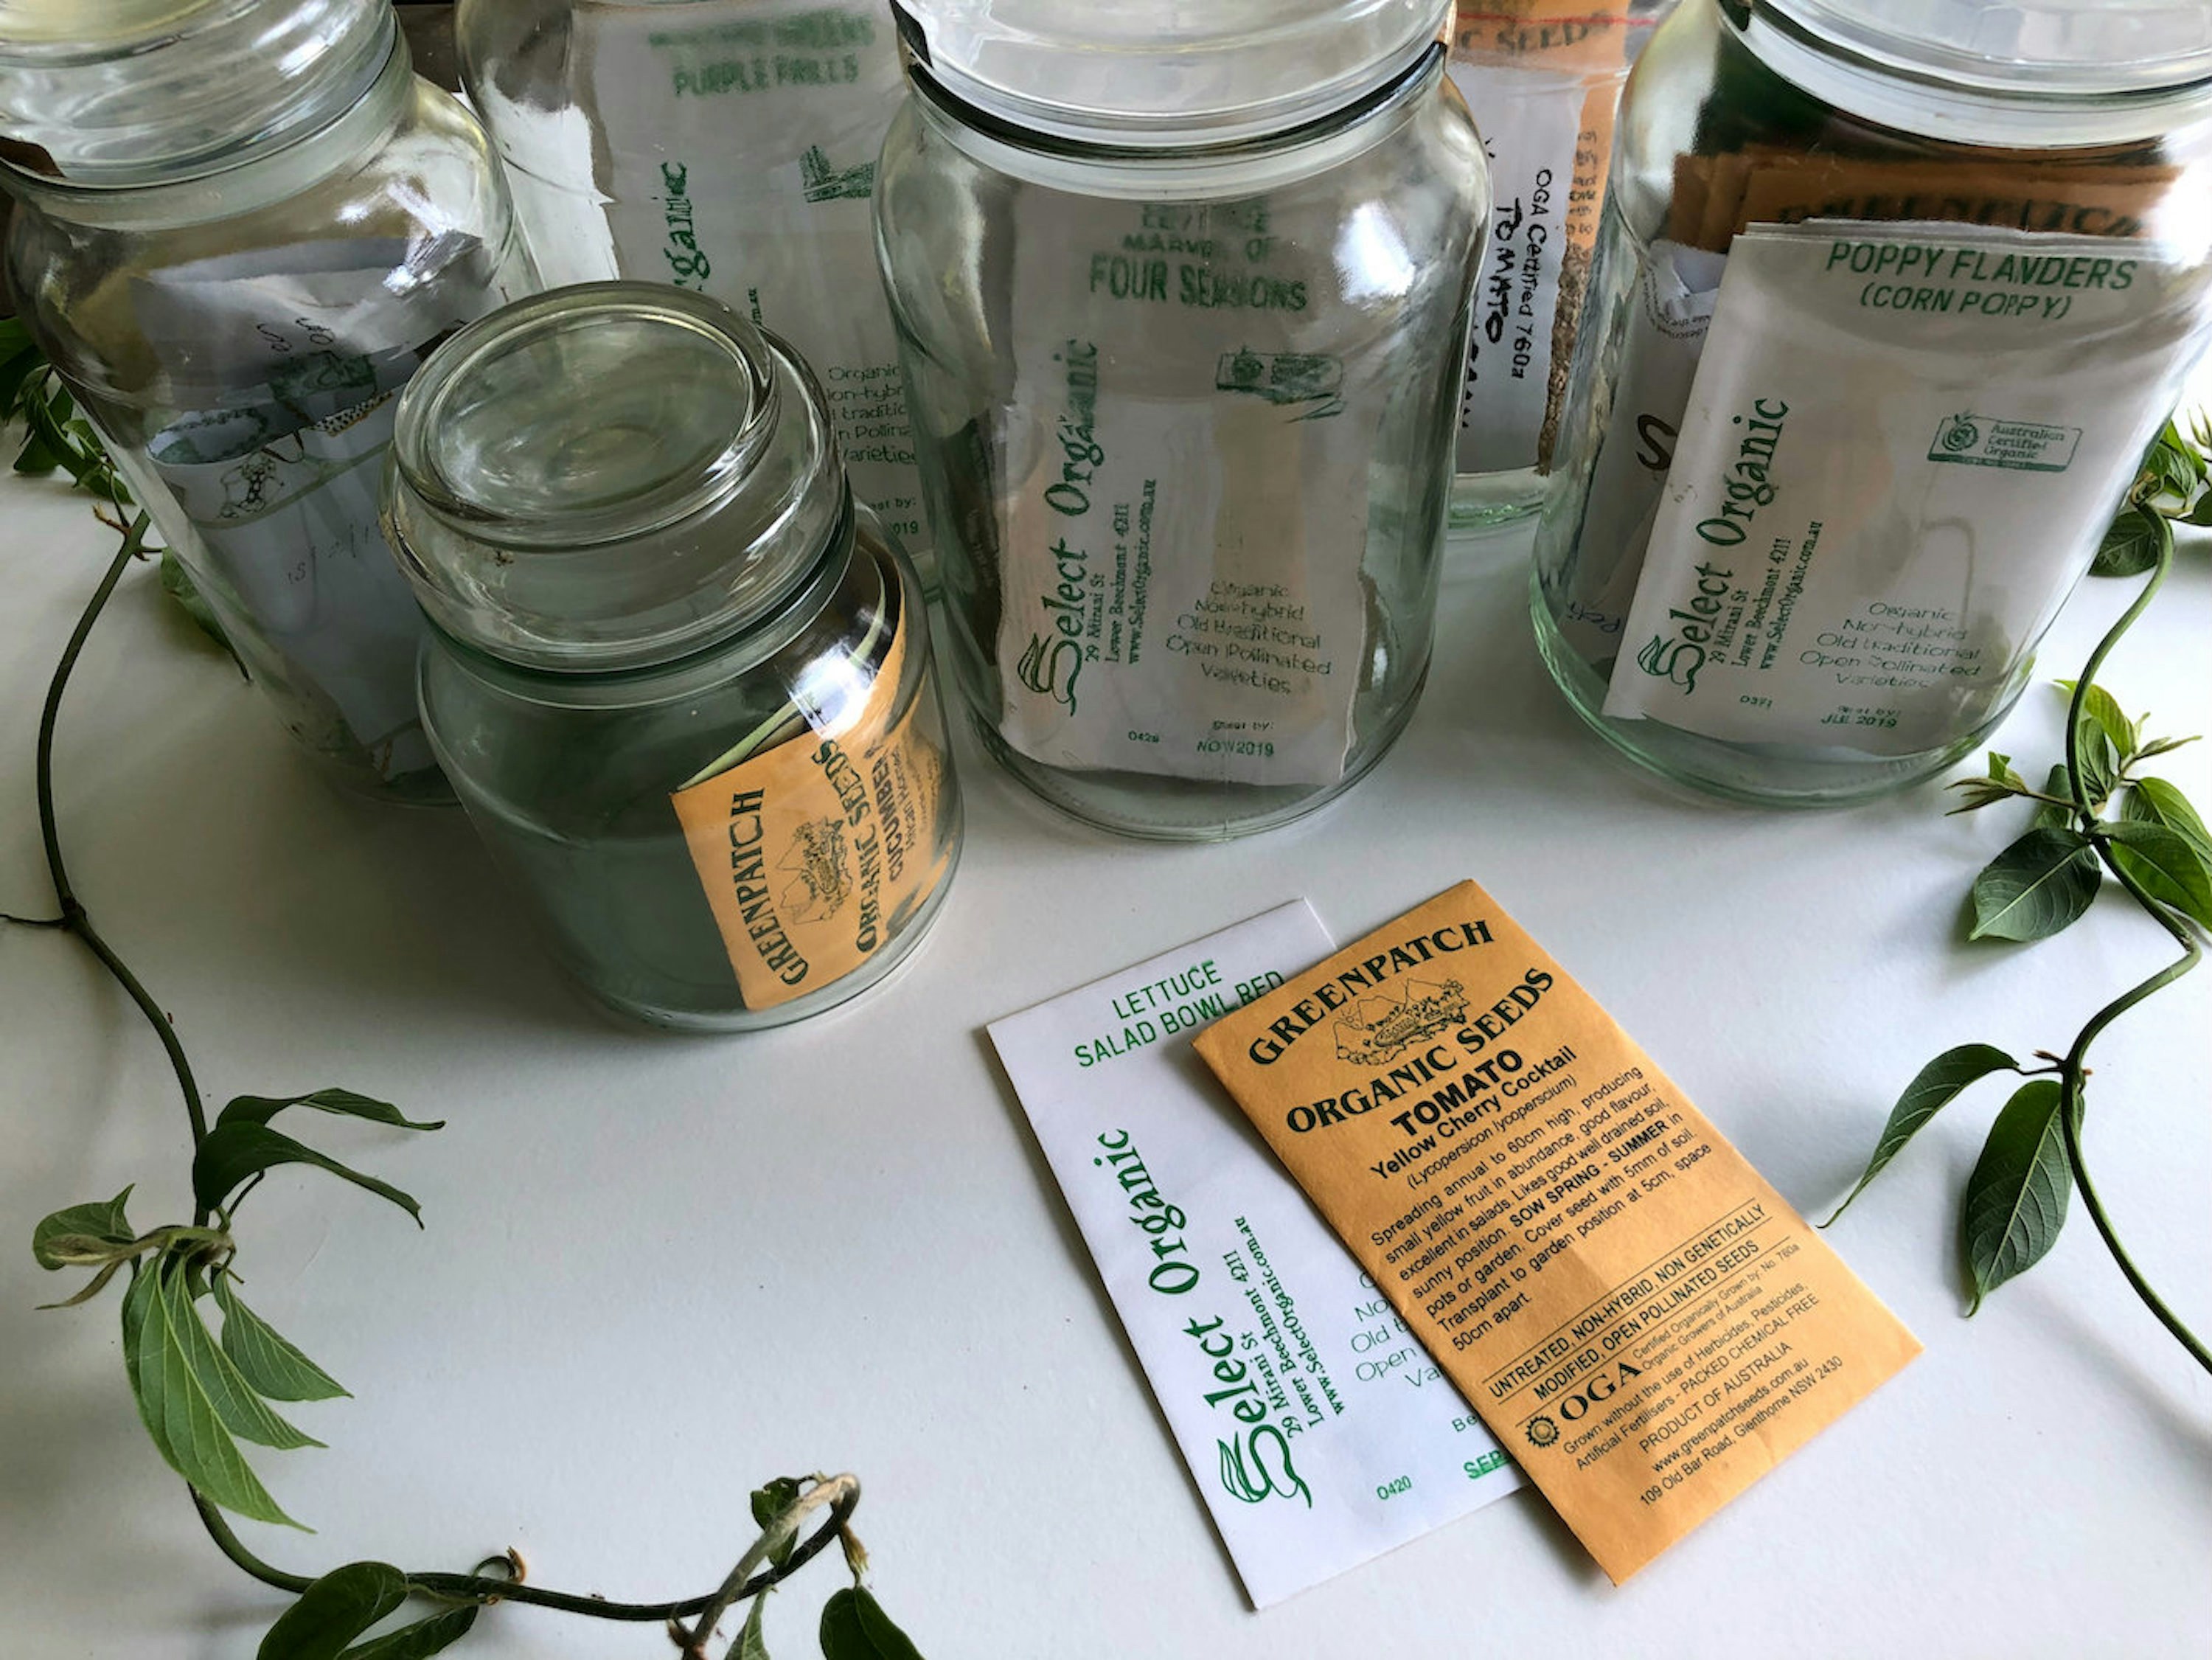
Photo by Eco Warrior Princess on Unsplash
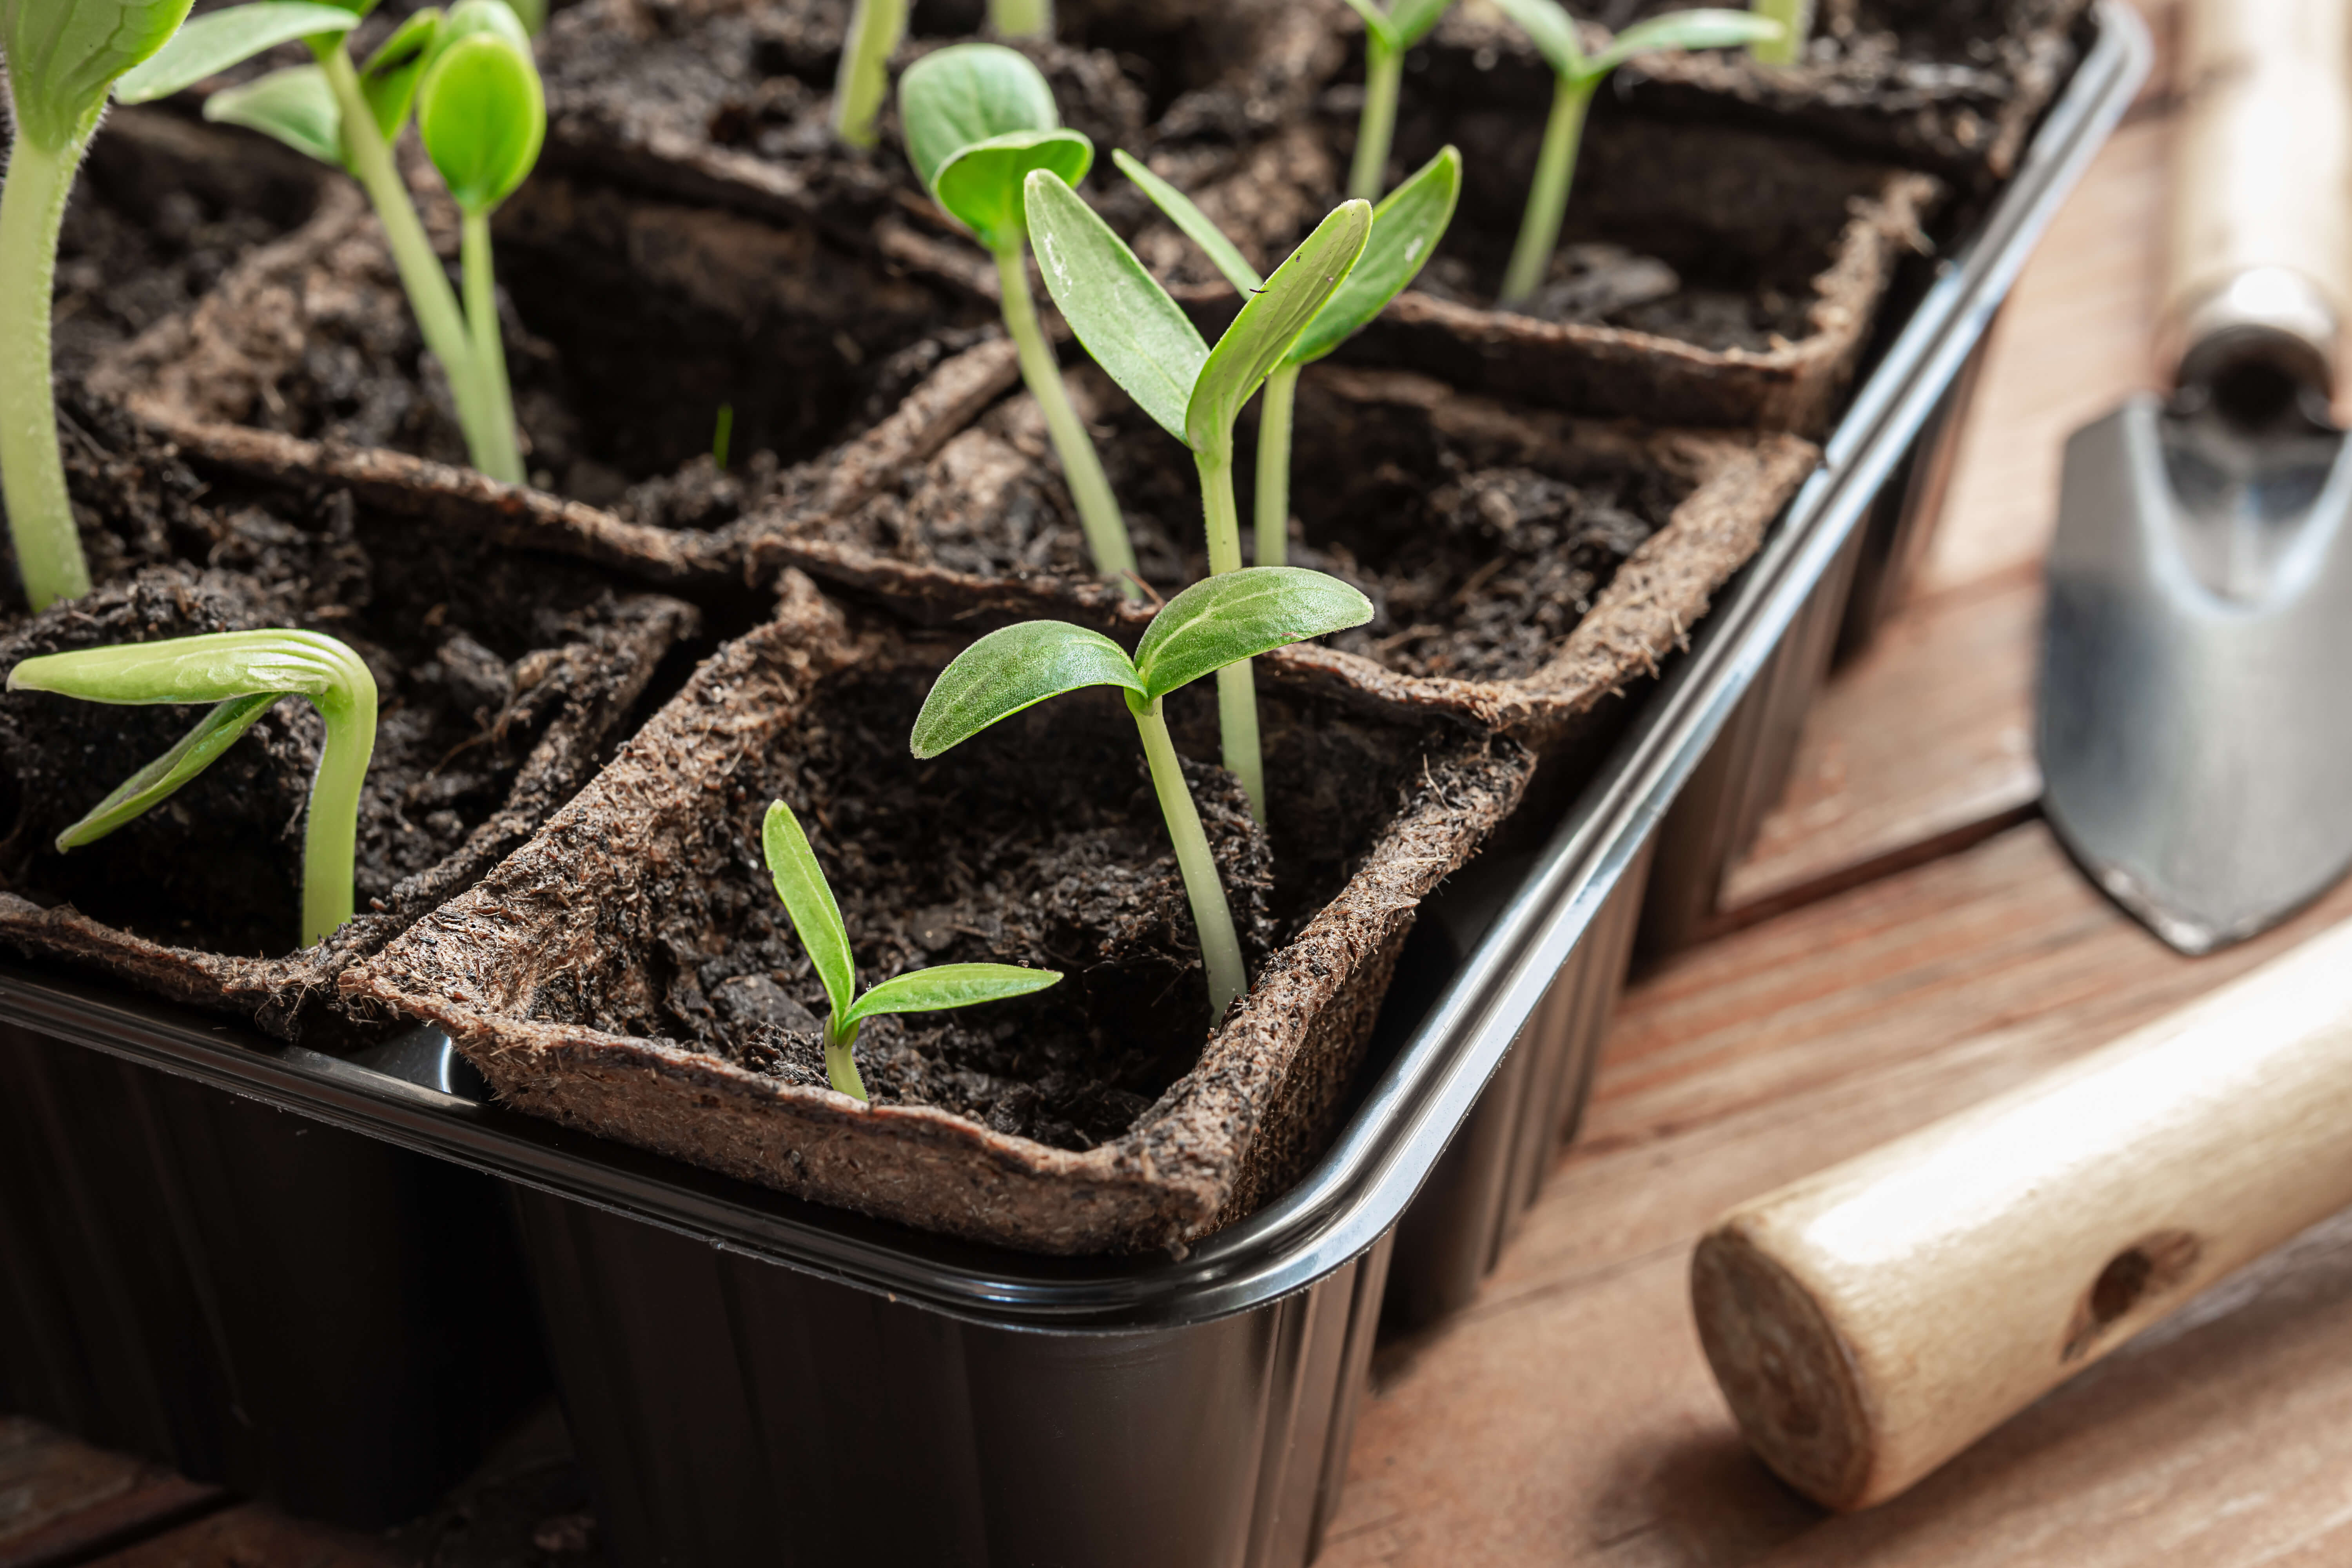
Fill the cups about halfway with the growing medium. Plant two seeds per cup, pushing them down about a quarter to an eighth of an inch and covering them lightly. This acts as an insurance policy; if one seed doesn’t germinate, the other will.
Once the seedlings develop their first set of true leaves, thin them by snipping the weaker one. If you're gentle, you can separate them and give them their own cups.
Fertilizing Your Seedlings
After the seedlings have their first true leaves, begin fertilizing every two weeks. A half-strength organic liquid fertilizer, such as Neptune's Harvest fish and seaweed formula, is an excellent choice. This will provide the nutrients needed for healthy growth.
Watering Techniques
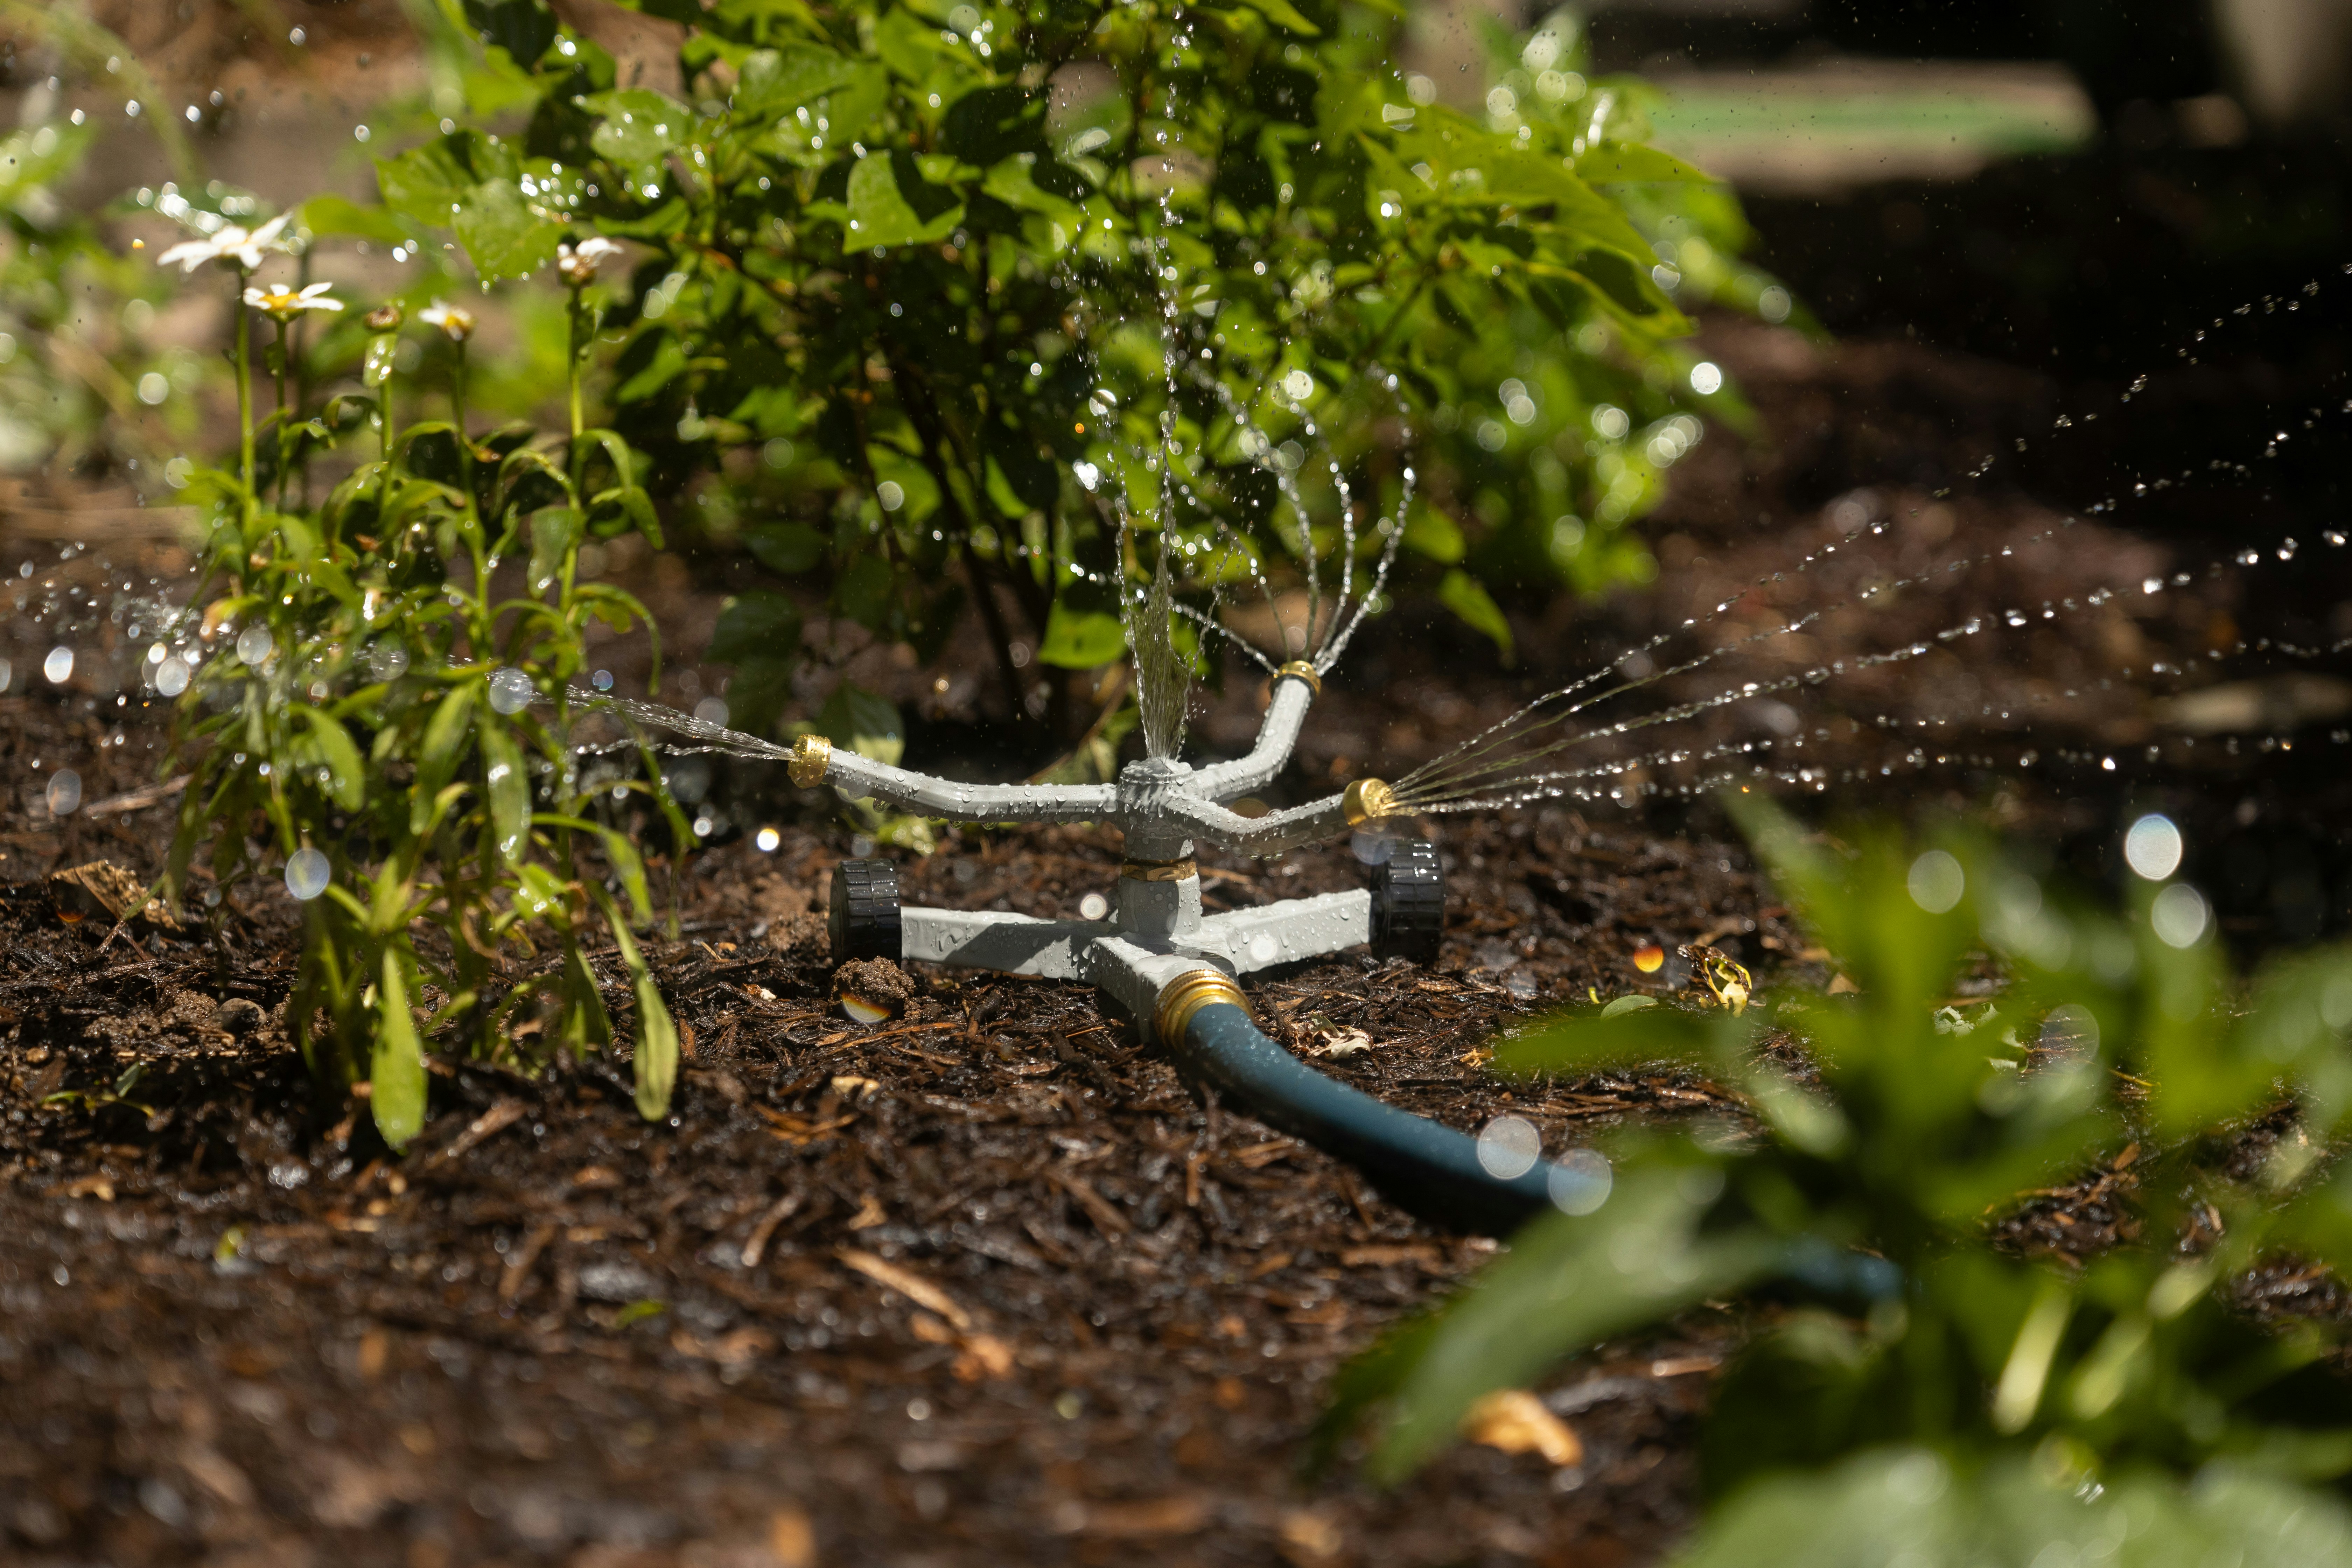
Photo by benjamin lehman on Unsplash
Watering seedlings from the bottom is ideal. Place your cups in a tray without holes and fill it halfway with water. Let the soil absorb the moisture, then remove the cups and dump any excess water. This method prevents overwatering and encourages healthy root development.
Using a Humidity Dome
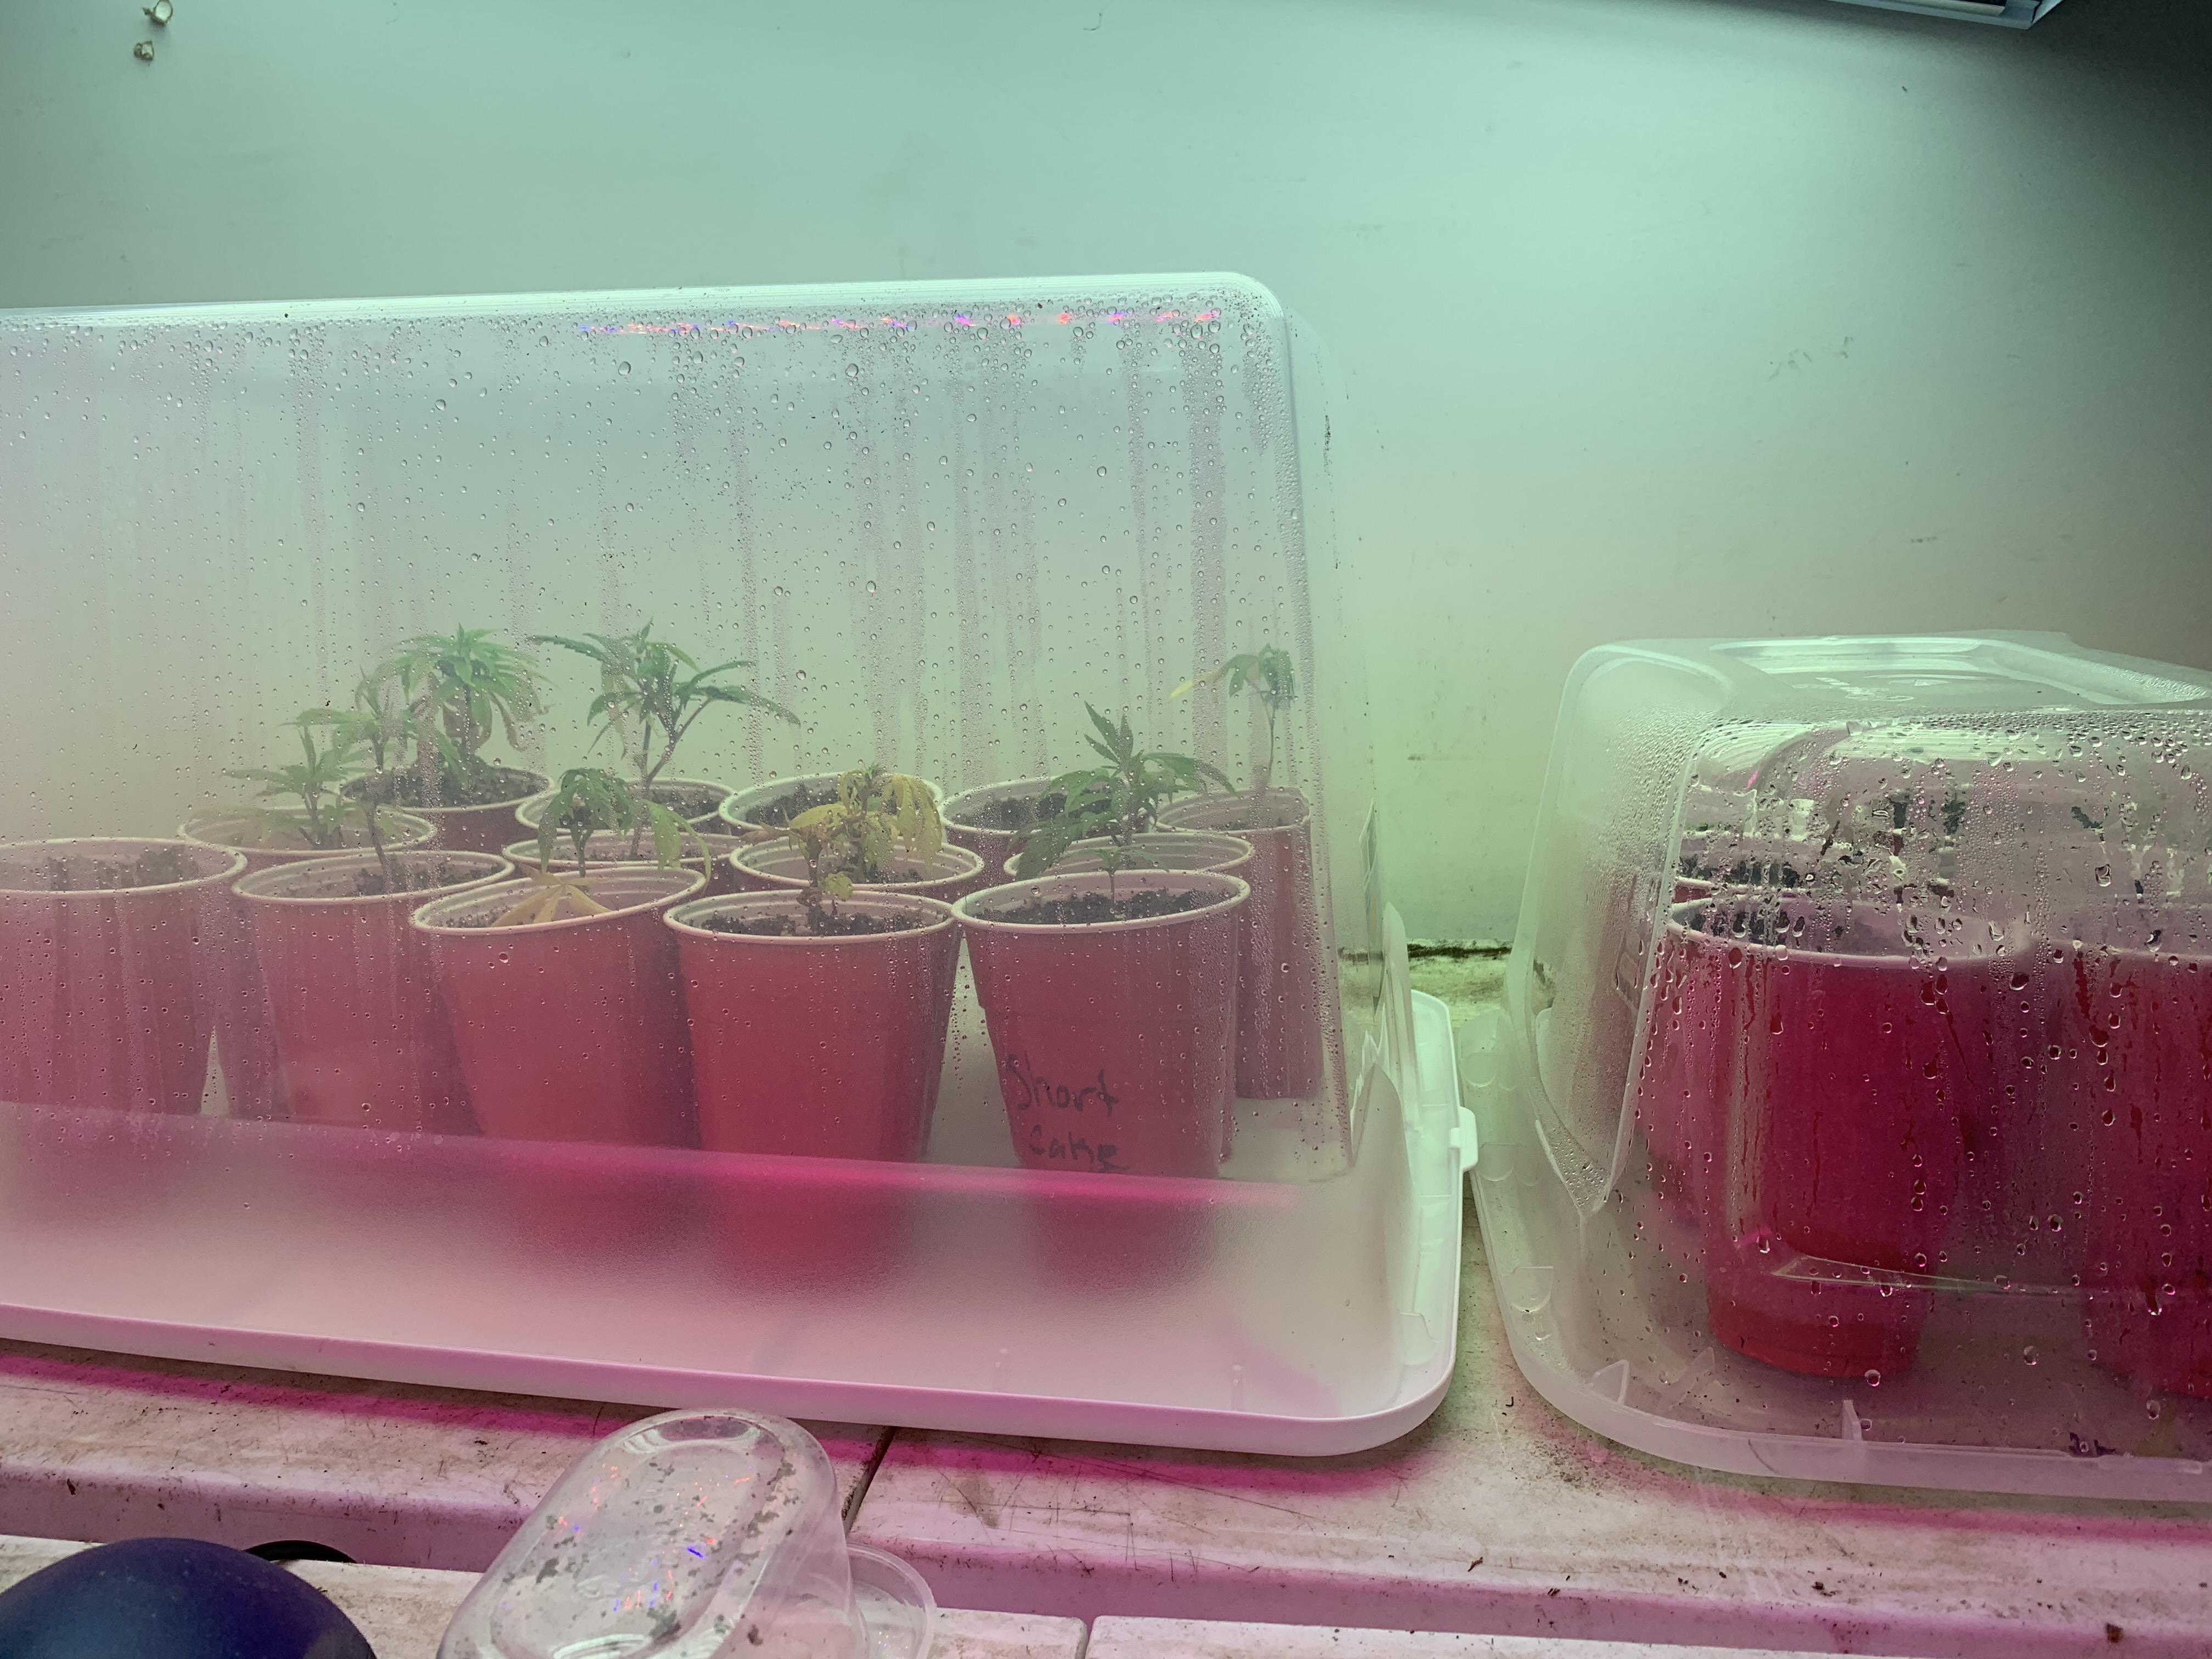
A humidity dome can be beneficial during germination, helping to retain moisture. Once the seeds have germinated, remove the dome to prevent excess moisture that could lead to disease.
Supercharging Your Seedlings
When your tomato plants reach the top of the cup, you can enhance their growth by adding more potting soil to fill the cup up to within half an inch of the rim. This method, similar to hilling potatoes, allows more roots to develop along the buried stem, creating a stronger plant.
Ready for Transplanting
When the seedlings are ready to be transplanted into the garden, it’s essential to prepare them for the transition. This involves hardening them off by gradually exposing them to outdoor conditions over a week or two.
Common Seed Starting Questions
Let’s address some common questions about seed starting:
Should I soak tomato seeds before planting? Soaking is helpful but not necessary, especially if you’re using a heat mat.
Can I start seeds in the final pot? Yes, but be mindful of the space required.
What size solo cup should I use? An 8-ounce cup is generally sufficient.
Do I need grow lights? If you have a sunny greenhouse, you may not need them, but for indoor starts, they are usually necessary.
Final Thoughts
By following these steps, you’ll be well on your way to a successful tomato harvest. Starting your seeds correctly sets the foundation for healthy, productive plants that can yield an abundance of delicious tomatoes.
For more gardening tips and tricks, consider joining our online community at Next Level Gardening. You can also check out more great content on our YouTube channel.
Happy gardening!
Video Guide
Best Way to Start Tomato Seeds Indoors (or Outdoors)
Starting tomato seeds correctly is the foundation for a bountiful harvest. Whether you’re a seasoned gardener or a beginner, understanding the process of sowing tomato seeds indoors or outdoors can significantly impact the quality and quantity of your tomatoes. In this guide, we’ll dive deep into the steps you need to follow to ensure your tomato plants thrive.
Why Starting Seeds Matters
Two years ago, a comprehensive guide on growing tomatoes was released, which quickly became a hit on YouTube, garnering nearly six million views. Since then, many gardeners have achieved impressive results, such as harvesting over 800 tomatoes from a small 40 square foot raised bed. The success of your tomatoes ultimately stems from the day you sow the seeds.
Choosing Your Tomato Varieties
Before diving into the sowing process, it's essential to select the right varieties of tomatoes. This year, I'm excited to grow:
Sun Gold: Known for being the sweetest tomato.
Sweetheart Cherry: A new variety with a sweet, berry-like flavor.
Kellogg's Breakfast: My favorite yellow heirloom tomato that’s super sweet and firm.
Steakhouse Hybrid: A massive beefsteak tomato with outstanding flavor.
Amish Paste: An excellent choice for paste and canning.
Feel free to share your favorite tomato varieties in the comments!
Timing Your Seed Starting
Tomato seeds can be started indoors six to eight weeks before your last frost date. For those in cooler climates, planting should occur two to three weeks after the last frost. This timing ensures that your plants have ample time to grow strong before being transplanted outdoors.
Selecting the Right Containers
When choosing containers for starting your seeds, red solo cups are an excellent option. They’re the perfect size and can be reused for several years. Just remember to drill a few holes in the bottom for drainage. You can also use other containers, but ensure they are taller rather than wide, as tomatoes can develop roots along their stems, which promotes stronger plants.
Using taller containers allows for deeper root systems, leading to more robust plants that are better able to resist pests and diseases.
Preparing Your Growing Medium
The growing medium is crucial for seed starting. A blend of 50% coco coir and 50% peat, along with a few handfuls of perlite for drainage, works well. This mixture should be pre-moistened, resembling a rung-out sponge, before filling your cups.
Sowing the Seeds
Photo by Eco Warrior Princess on Unsplash
Fill the cups about halfway with the growing medium. Plant two seeds per cup, pushing them down about a quarter to an eighth of an inch and covering them lightly. This acts as an insurance policy; if one seed doesn’t germinate, the other will.
Once the seedlings develop their first set of true leaves, thin them by snipping the weaker one. If you're gentle, you can separate them and give them their own cups.
Fertilizing Your Seedlings
After the seedlings have their first true leaves, begin fertilizing every two weeks. A half-strength organic liquid fertilizer, such as Neptune's Harvest fish and seaweed formula, is an excellent choice. This will provide the nutrients needed for healthy growth.
Watering Techniques
Photo by benjamin lehman on Unsplash
Watering seedlings from the bottom is ideal. Place your cups in a tray without holes and fill it halfway with water. Let the soil absorb the moisture, then remove the cups and dump any excess water. This method prevents overwatering and encourages healthy root development.
Using a Humidity Dome
A humidity dome can be beneficial during germination, helping to retain moisture. Once the seeds have germinated, remove the dome to prevent excess moisture that could lead to disease.
Supercharging Your Seedlings
When your tomato plants reach the top of the cup, you can enhance their growth by adding more potting soil to fill the cup up to within half an inch of the rim. This method, similar to hilling potatoes, allows more roots to develop along the buried stem, creating a stronger plant.
Ready for Transplanting
When the seedlings are ready to be transplanted into the garden, it’s essential to prepare them for the transition. This involves hardening them off by gradually exposing them to outdoor conditions over a week or two.
Common Seed Starting Questions
Let’s address some common questions about seed starting:
Should I soak tomato seeds before planting? Soaking is helpful but not necessary, especially if you’re using a heat mat.
Can I start seeds in the final pot? Yes, but be mindful of the space required.
What size solo cup should I use? An 8-ounce cup is generally sufficient.
Do I need grow lights? If you have a sunny greenhouse, you may not need them, but for indoor starts, they are usually necessary.
Final Thoughts
By following these steps, you’ll be well on your way to a successful tomato harvest. Starting your seeds correctly sets the foundation for healthy, productive plants that can yield an abundance of delicious tomatoes.
For more gardening tips and tricks, consider joining our online community at Next Level Gardening. You can also check out more great content on our YouTube channel.
Happy gardening!
Video Guide
Free Weekly Garden Tips
Join my free newsletter to receive weekly garden insights + things I think you'll find interesting!
Free Weekly Garden Tips
Join my free newsletter to receive weekly garden insights + things I think you'll find interesting!
Free Weekly Garden Tips
Join my free newsletter to receive weekly garden insights + things I think you'll find interesting!
Let's grow your dream garden.

Subscribe
Join our newsletter to stay up to date on everything happening!
By subscribing you agree to our Privacy Policy and provide consent to receive updates from our company.
Let's grow your dream garden.
Subscribe
Join our newsletter to stay up to date on everything happening!
By subscribing you agree to our Privacy Policy and provide consent to receive updates from our company.
Let's grow your dream garden.
Subscribe
Join our newsletter to stay up to date on everything happening!
By subscribing you agree to our Privacy Policy and provide consent to receive updates from our company.